How to Do Street Photography at Night
A silhouette of a man and a woman with an umbrella
There's a version of a city that only shows up after dark. The geometry doesn't change, but everything else does — the light goes from one source to twenty, the colors stop being polite, and the people who are still out are out for a reason. Daylight street photography rewards patience. Night street photography rewards being ready.
I've been chasing this version of the city across a few different streets lately — Times Square, Chinatown in the rain, a film shoot in the West Village — and the through-line in all of it is the same: at night, the light is the subject as much as the person is. Here's what I've learned about working with it.
Let the signage do the lighting
The single biggest difference between day and night street photography is that you stop hunting for light and start hunting for light sources. Storefronts, marquees, neon, food cart bulbs — these aren't just things in the frame, they're your key light, your rim light, and your color palette all at once.
A Halal cart vendor in Times Square
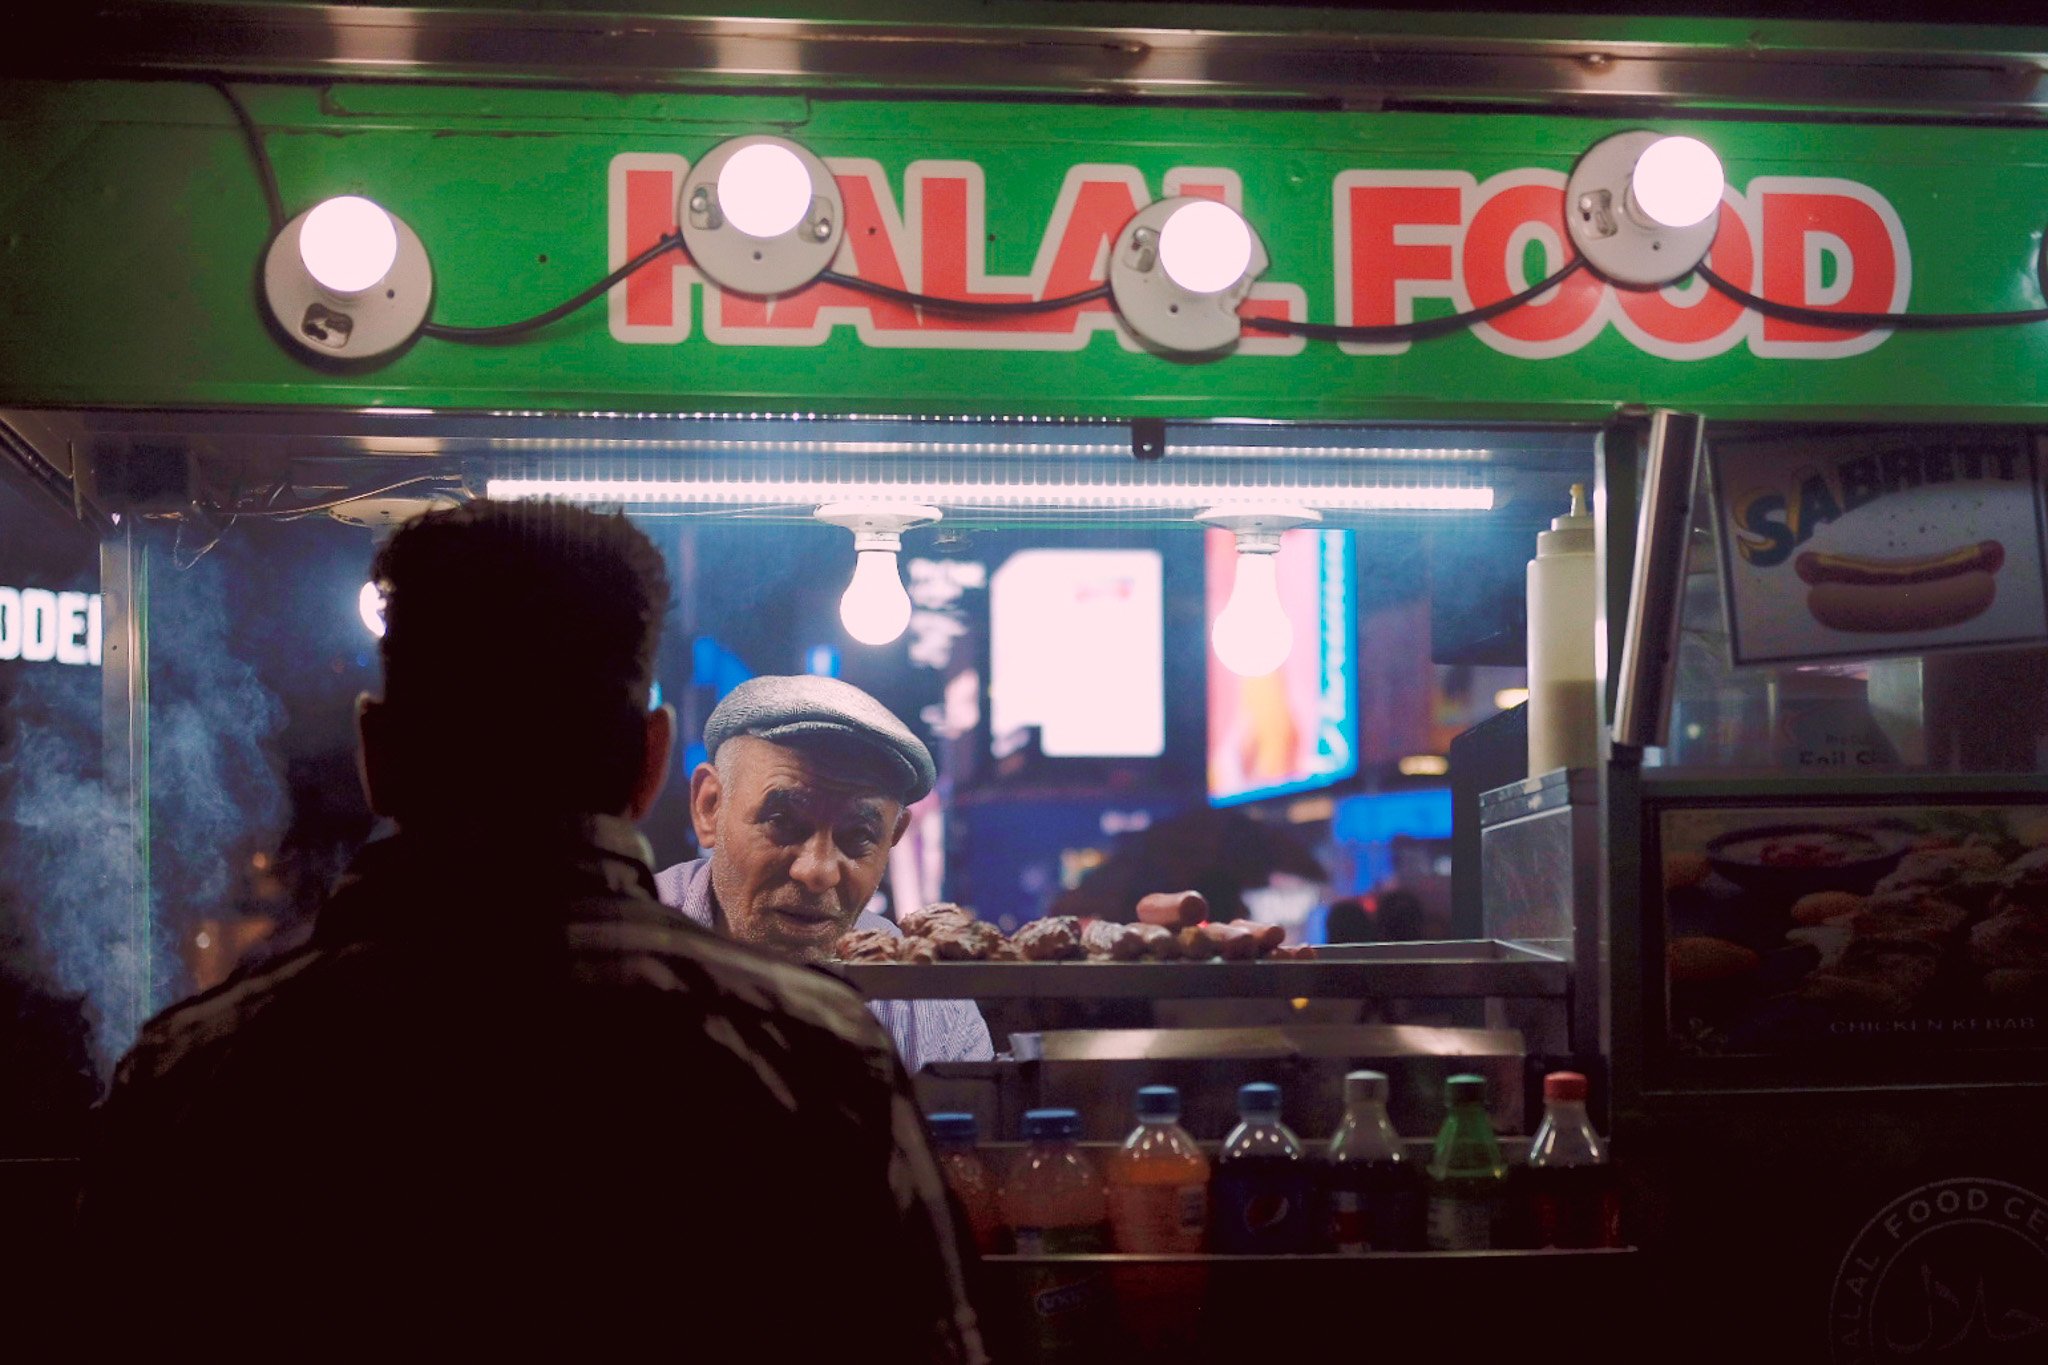
This halal cart in Times Square is a good example. The string of bare bulbs over the green sign does three jobs: it lights the vendor's face from above, it backlights the steam rising off the grill, and it throws warm highlights across the whole scene while the background goes to cool blue neon. I didn't add anything — I just waited until a customer's silhouette filled the foreground and gave the frame some scale and mystery.
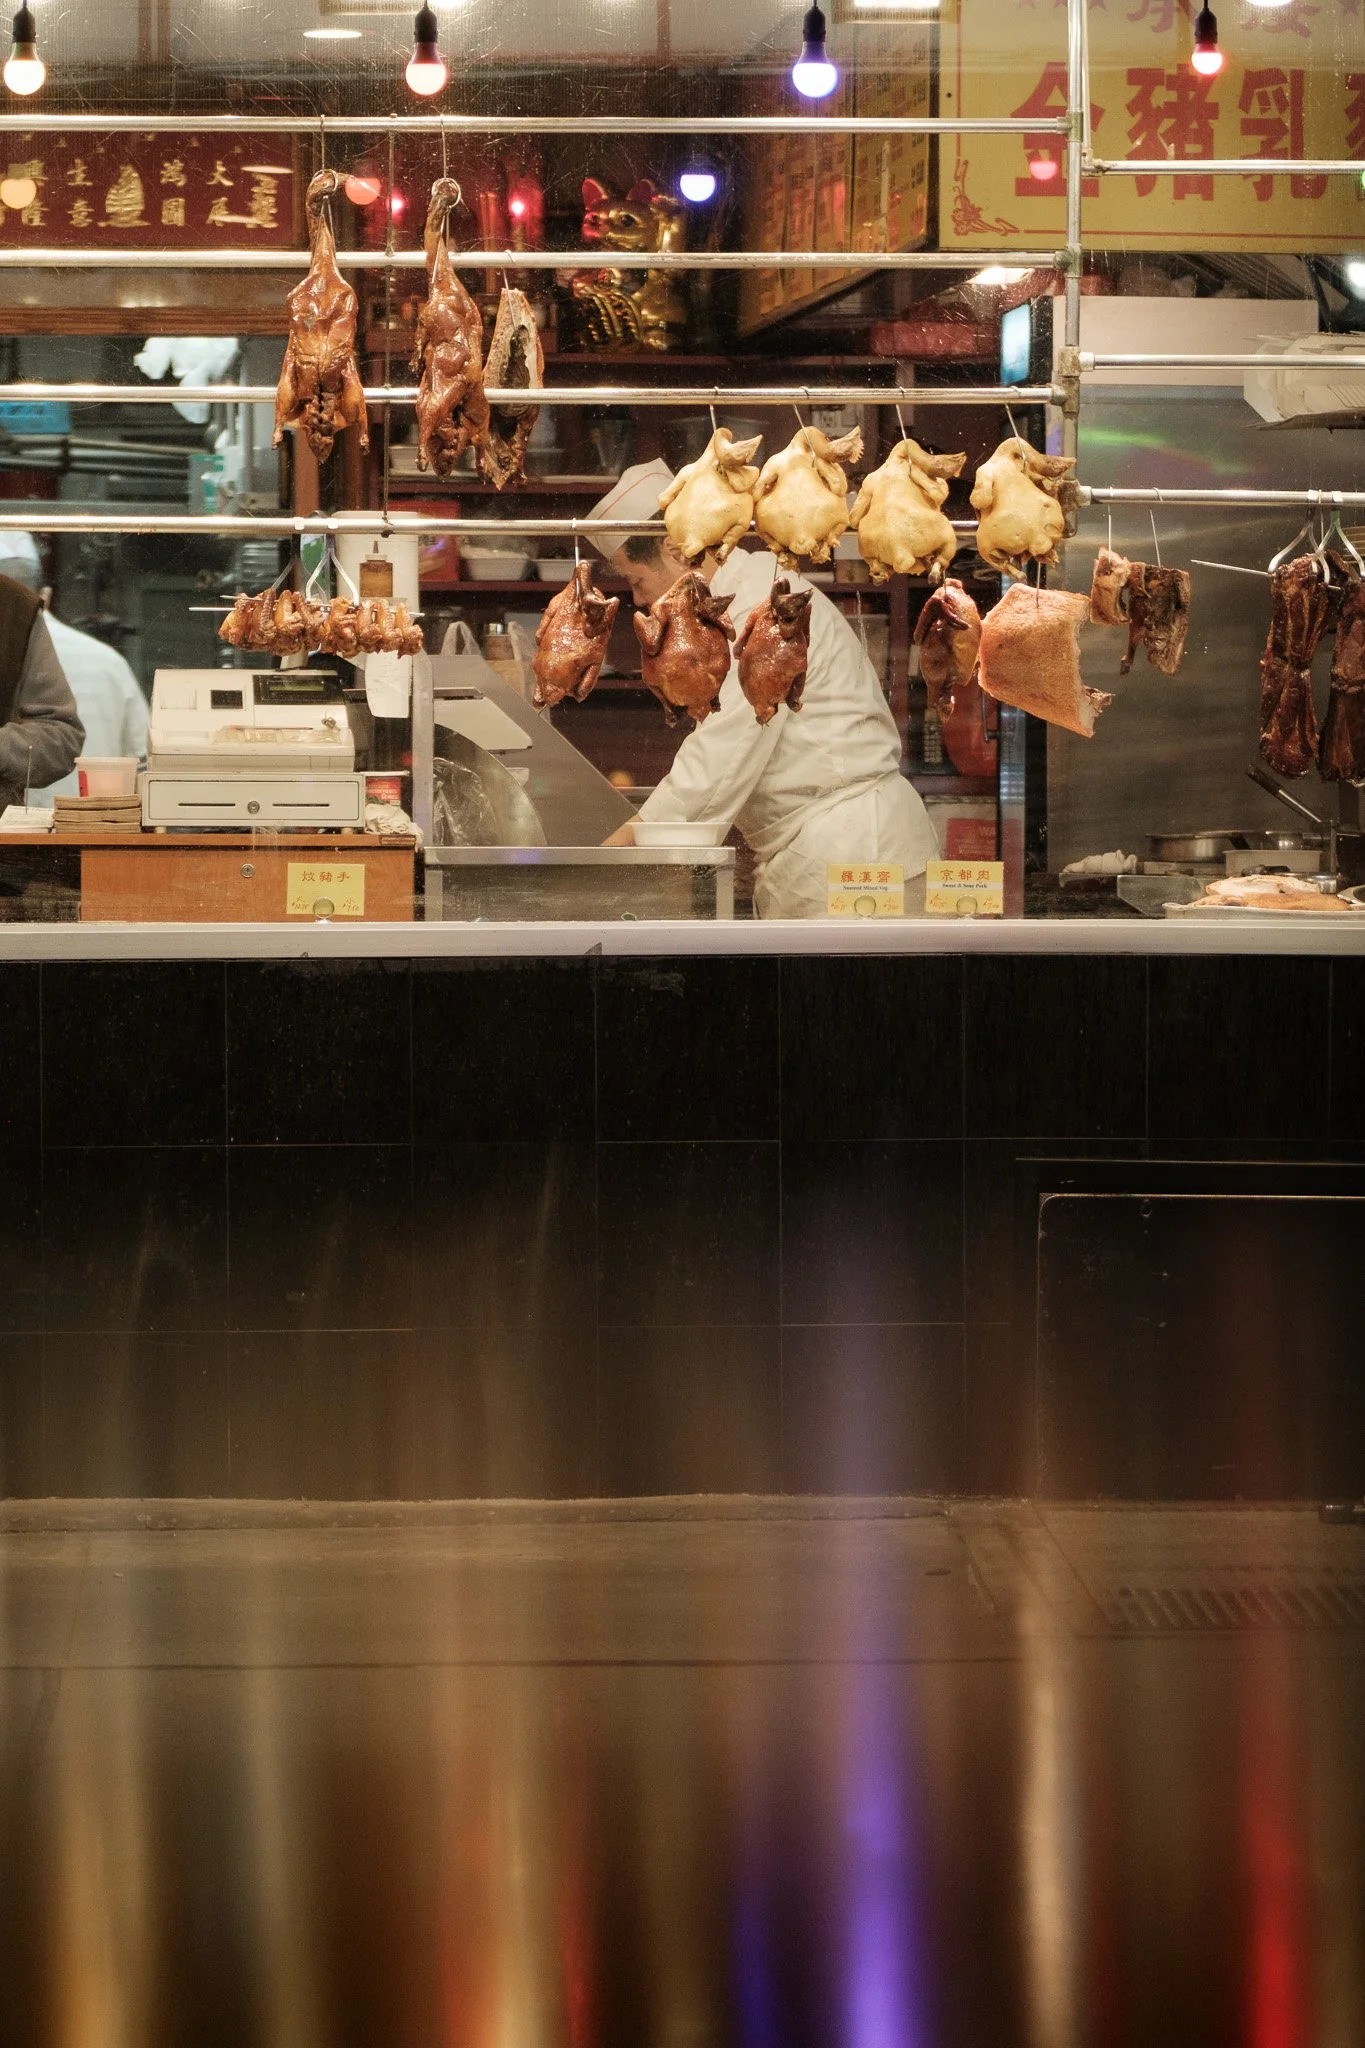
The same logic applies to the roast duck shop window in Chinatown. The string of red and gold bulbs overhead isn't decoration in this frame, it's doing the photographic work that a flash would do in daylight — except it's already perfectly motivated and perfectly in-scene.
A Chinatown butcher carves roast meat in a window
Practical tip: walk toward the light sources, not away from them. A street that looks "too dark" to shoot usually has three or four genuinely excellent light sources on it — restaurant windows, marquees, streetlamps — and the dead space between them is where most people's instinct tells them to stand. Don't stand there.
Silhouette is a tool, not a failure
New photographers tend to treat a silhouetted subject as a missed exposure. At night, it's often the strongest compositional choice available to you. When a person is backlit by signage, store windows, or a marquee, turning them into a clean black shape does two things: it simplifies a frame that would otherwise be visually noisy, and it makes the light legible in a way a fully exposed face never could.
A man and woman in front of the El Cortez Hotel in Las Vegas
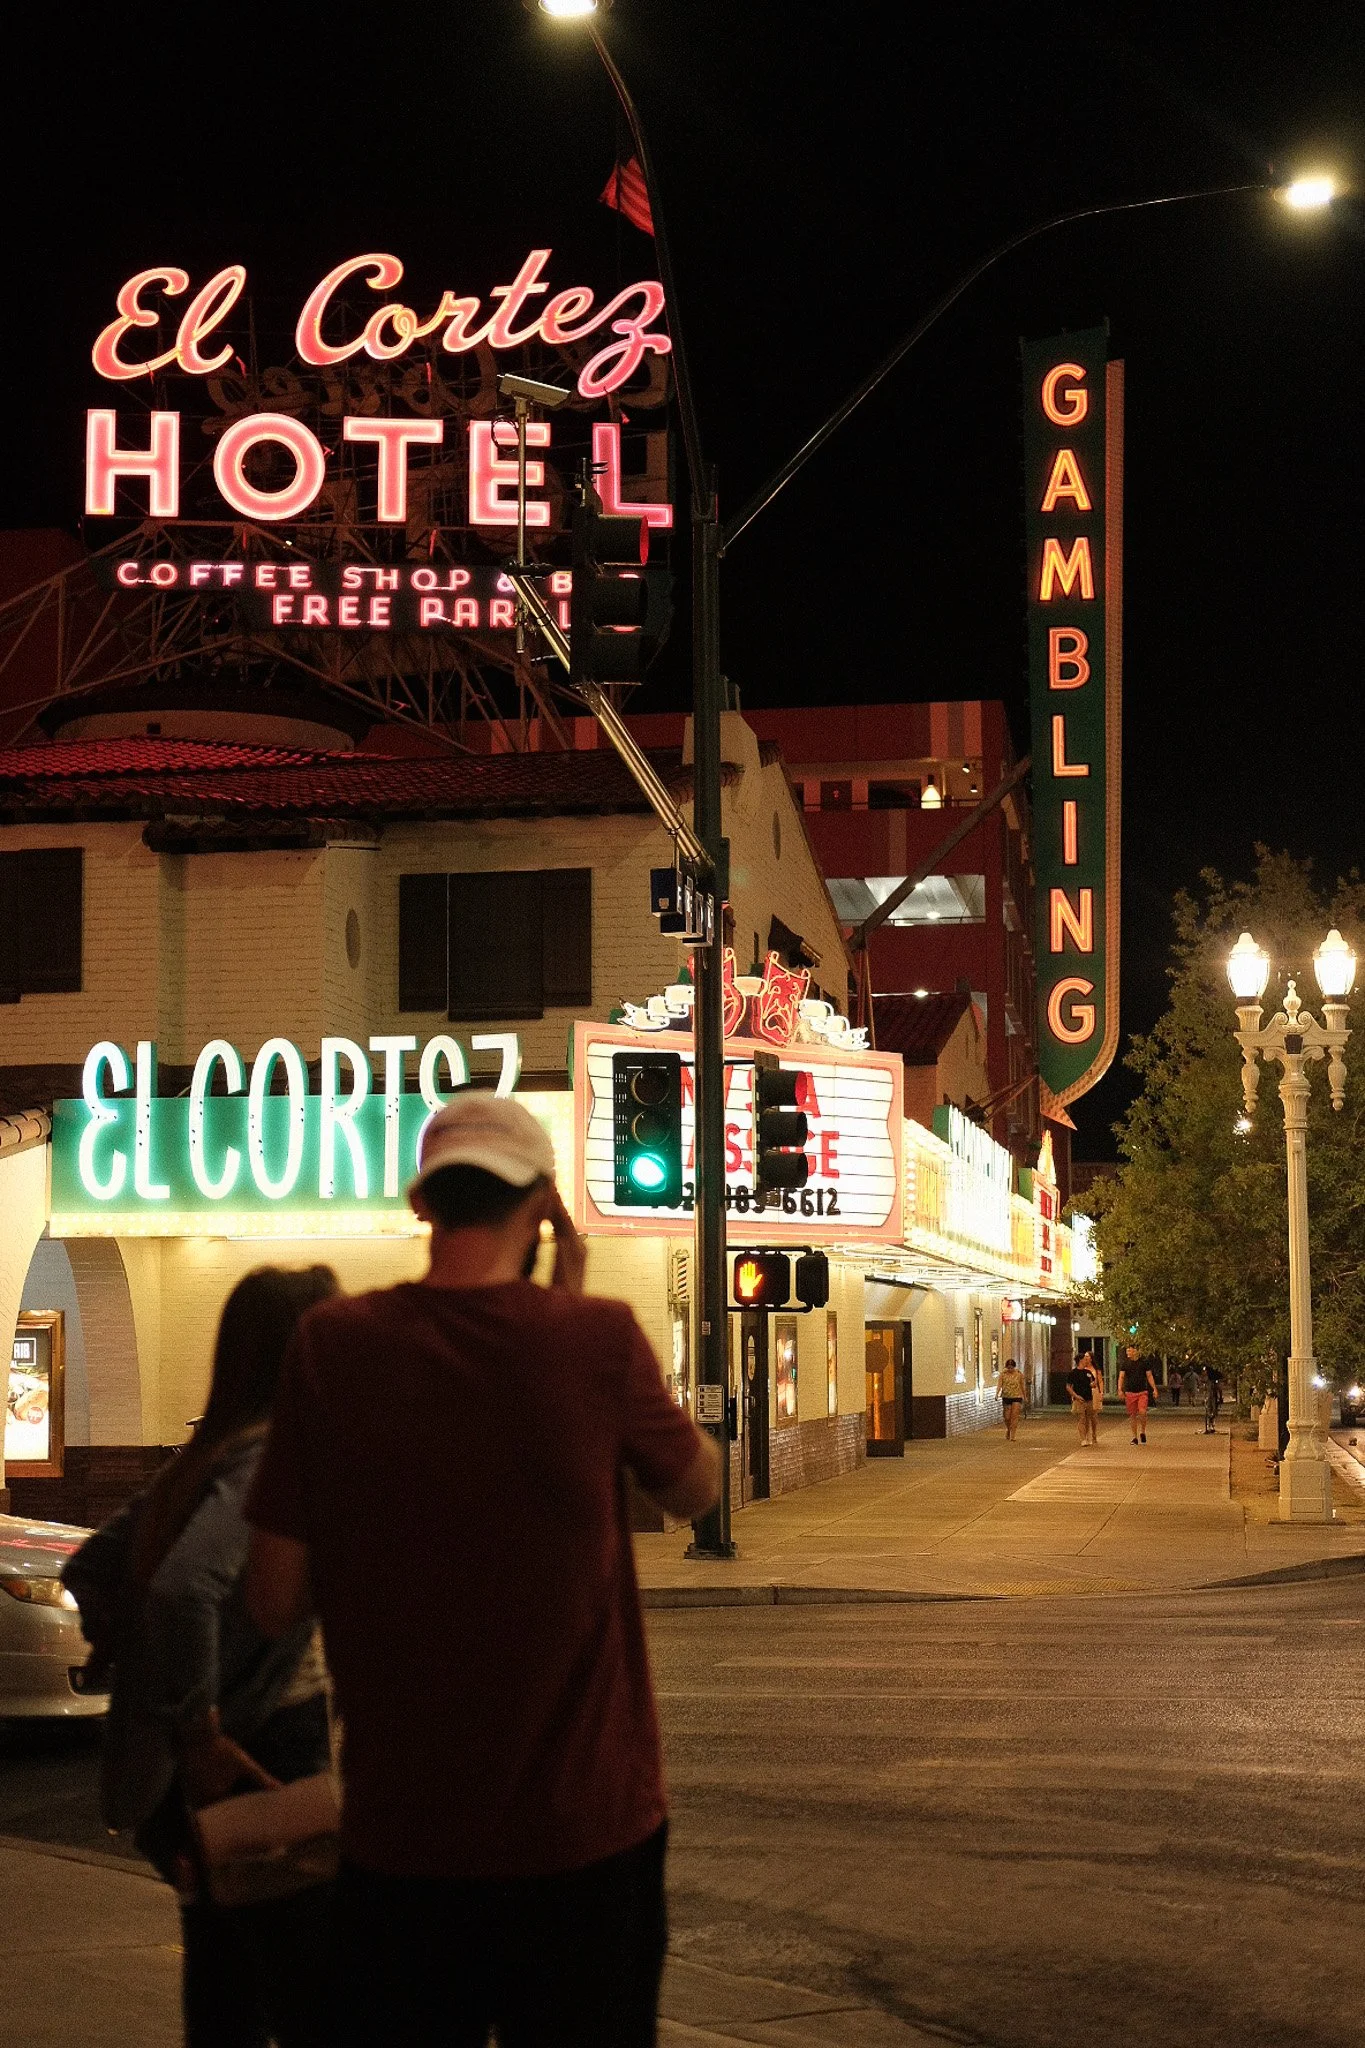
The shot of the man photographing the El Cortez Hotel in Las Vegas works for exactly this reason. If I'd exposed for his face, the neon behind him — "El Cortez," "Gambling," the whole marquee — would have blown out into mush. Instead, exposing for the highlights turns him into a dark anchor shape in the foreground while every letter of the signage stays crisp and readable behind him. The silhouette isn't a consolation prize; it's the composition.
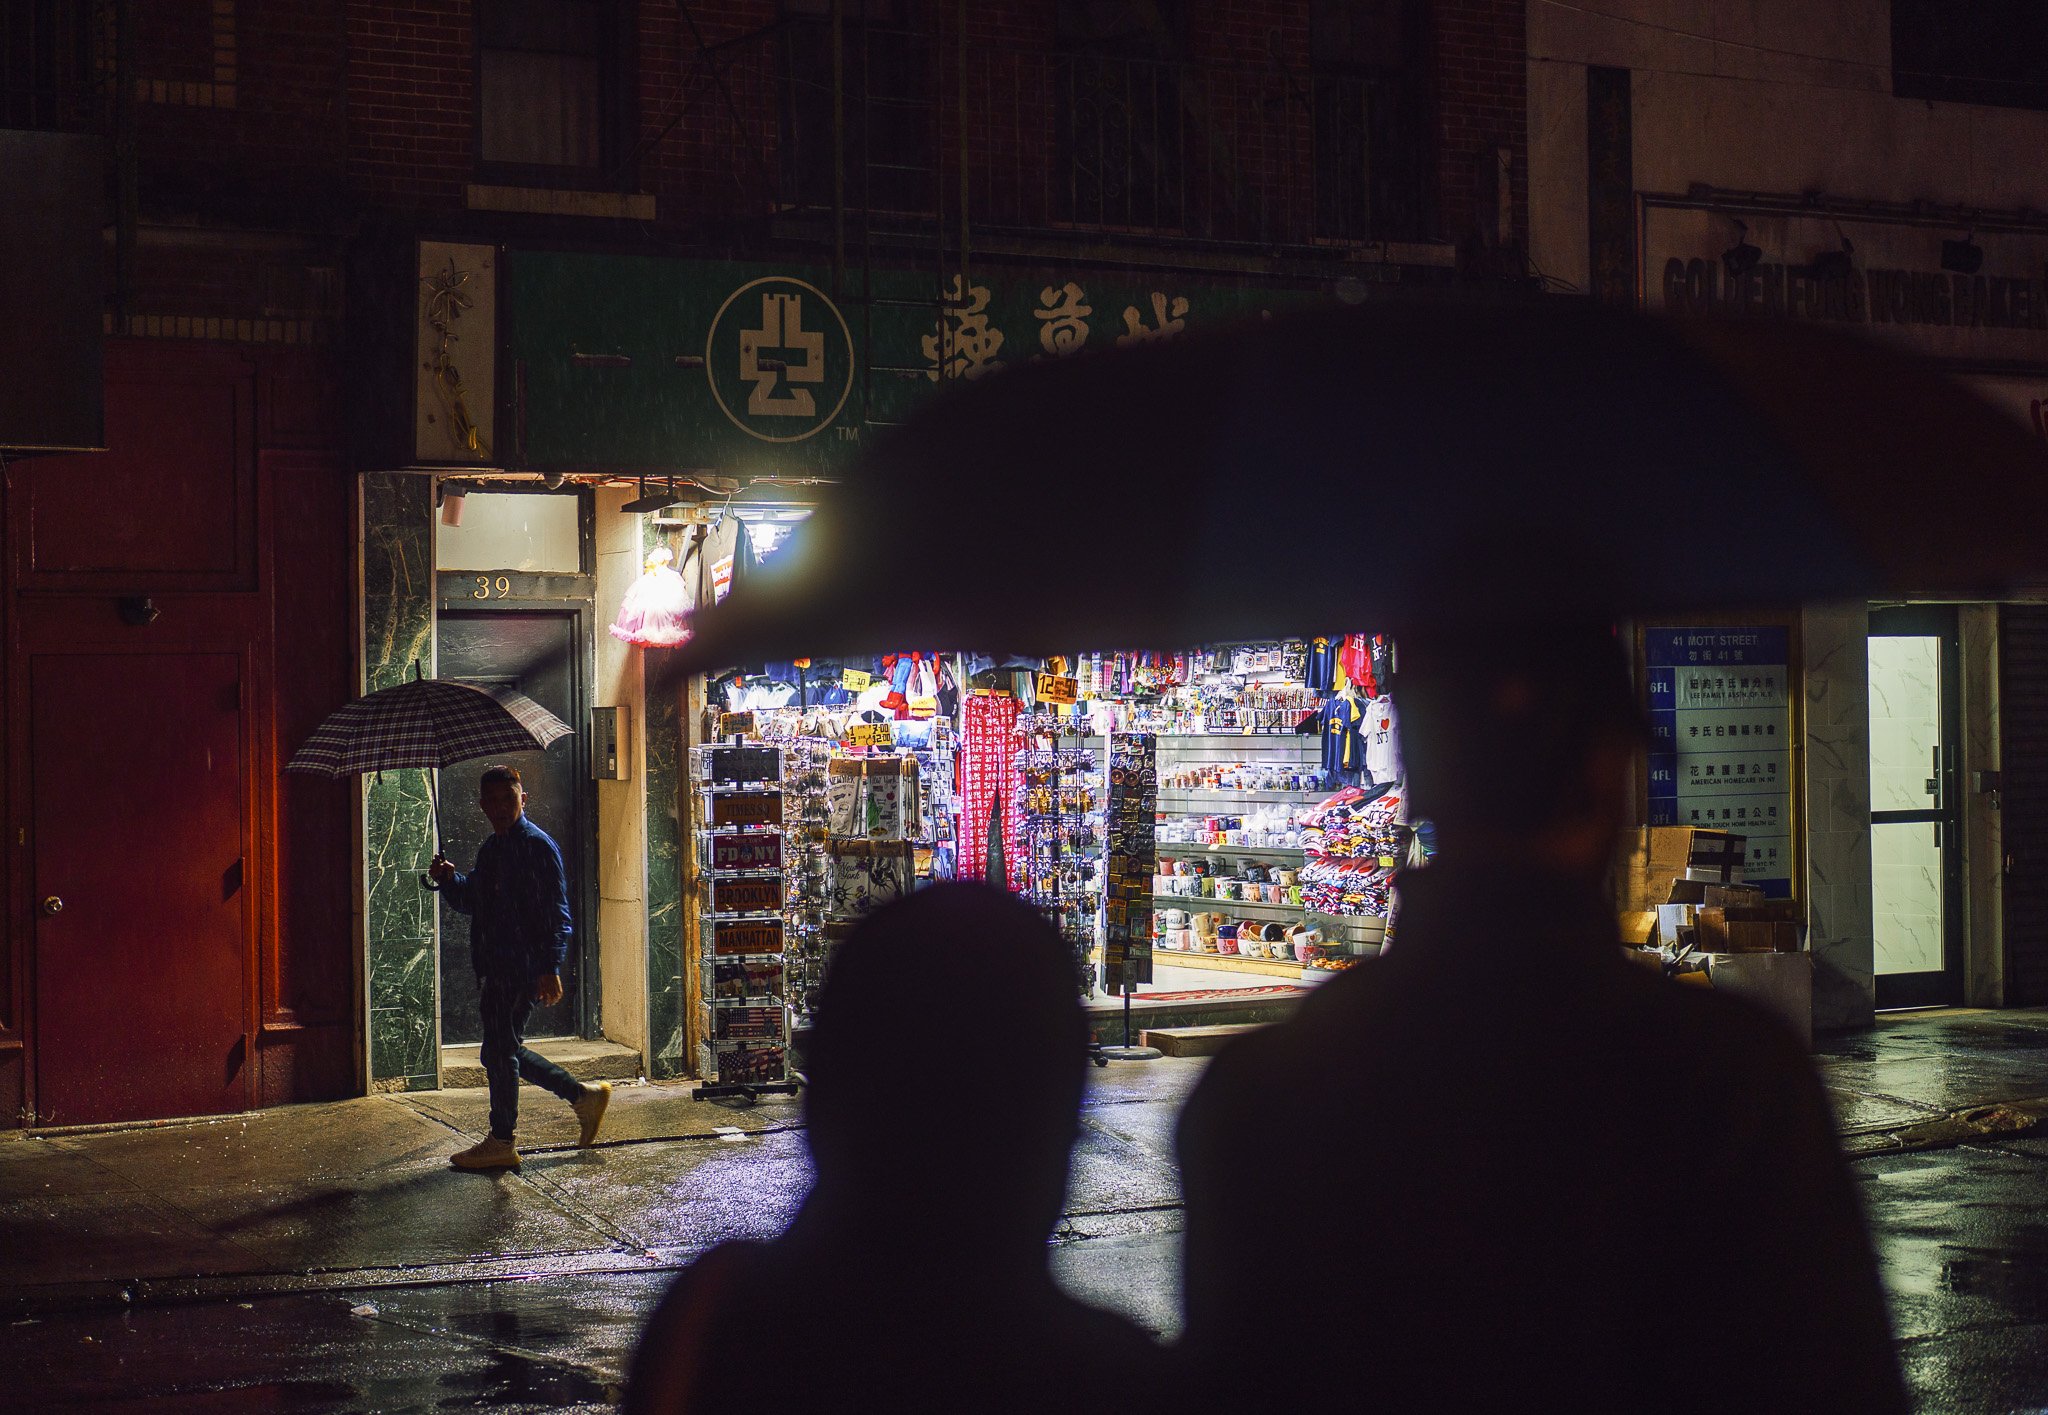
Same idea, different mood, in the rainy Mott Street frame — two heads in near-total shadow in the foreground, framing a lit-up souvenir shop and a man crossing under an umbrella in the middle distance. The foreground silhouettes aren't "ruined" exposures. They're doing the same job a doorway or an archway does in daylight street photography: they give the eye a near point and a far point, and they make the brightly lit shop the obvious subject by contrast.
Practical tip: meter for the brightest part of your scene, not your subject's face. Let the shadows go black. You can always recover a little in post, but a blown highlight is gone for good — and at night, the highlights are usually the most interesting part of the frame anyway.
Glass and rain multiply your light sources
If you want a night frame to feel layered rather than flat, look for reflective surfaces — wet pavement, restaurant windows, car glass. They take a single light source and turn it into two or three, stacked at different depths in the frame.
The roast duck shop shot leans on this hard: the polished tile counter in the foreground throws back a smeared, painterly reflection of the red and gold bulbs above, which adds a whole second layer of color to a frame that's already busy with hanging ducks and signage. Cut that reflection out and you lose half the photograph.
Rain does the same thing for free, citywide. Wet sidewalks turn every streetlamp and shop sign into a long vertical streak, which is part of why the Mott Street frame has that depth — the slick pavement in the lower third is quietly doing as much compositional work as the umbrella is.
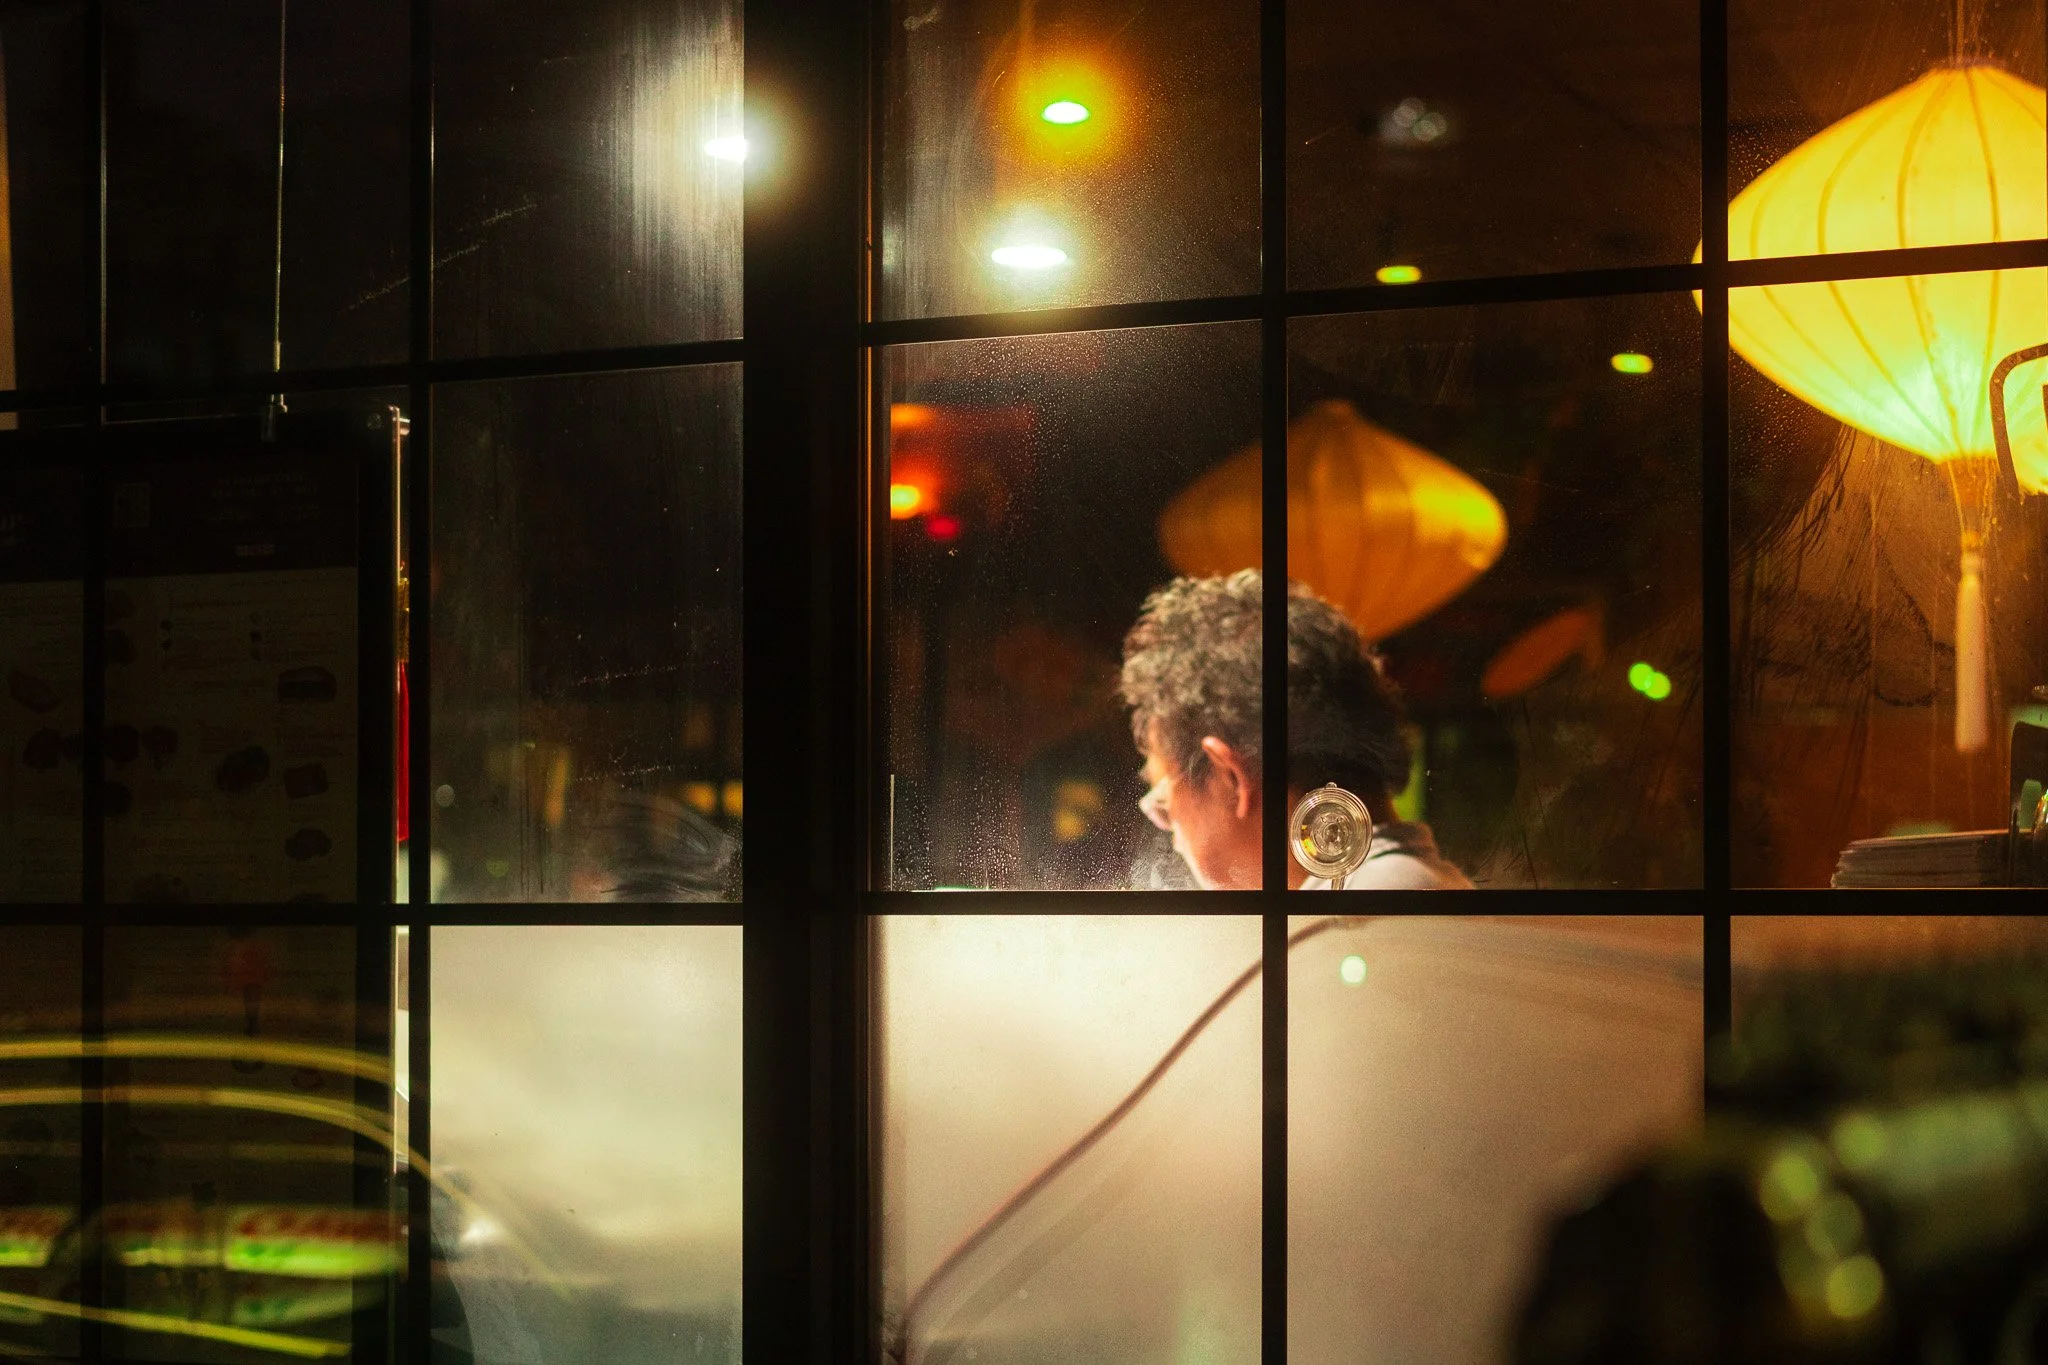
A cook framed in a dim restaurant window
Even glass that isn't reflecting anything dramatic can add texture instead — the restaurant window framing the cook beneath the paper lanterns is shot through the glass itself, picking up condensation, smudges, and soft bokeh from lights outside the frame. It turns a fairly simple "person working" shot into something with real atmosphere, because you're never looking at the scene directly — you're looking at it filtered through a layer of glass that's doing its own quiet thing with the light.
Practical tip: after a storm, or near any restaurant window, slow down and actually look for the second image — the reflected or refracted one — before you walk past it.
Color becomes a choice, not a default
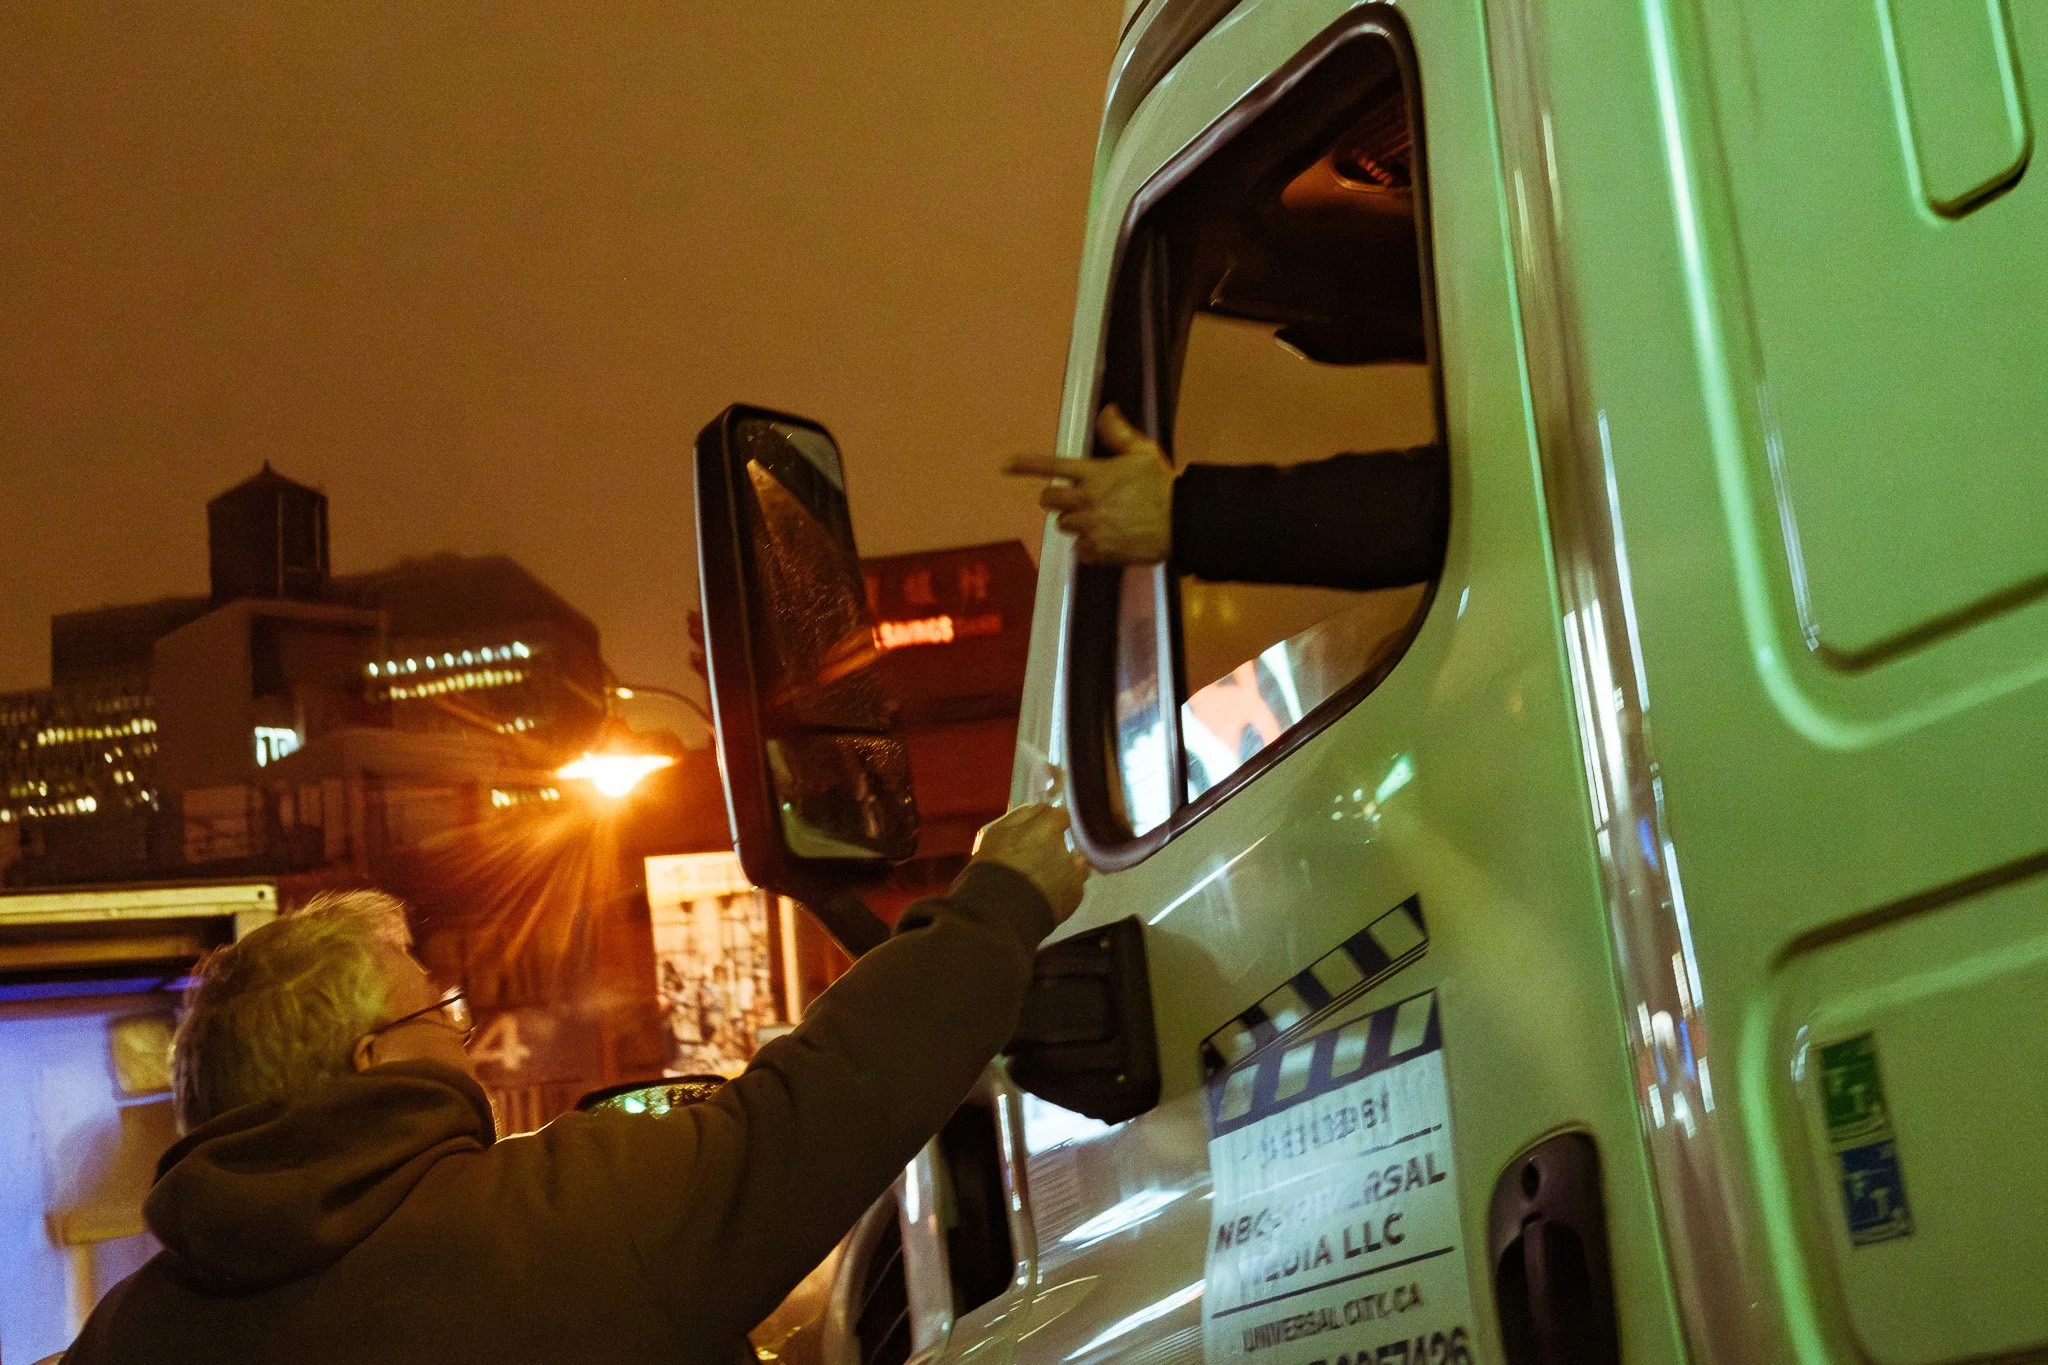
Two men talk through a truck window in Chinatown
In daylight, color in street photography often happens to you. At night, under mixed artificial light, color is something you're actively composing with, because every light source has its own temperature and your camera has to pick a side. Tungsten bulbs go warm-orange. Neon goes cool. Sodium streetlights go a sickly yellow-green. When you let all three sit in one frame, you get the kind of clashing, layered palette that makes night photography feel different from anything you can get during the day — see the green delivery truck against the orange sky and red taillight in the film-shoot frame, where three completely different light temperatures occupy three different zones of the same image.
That's also why a single bold color accent — like the bright green of that truck cab — can carry a whole frame even when the rest of the image is dim and desaturated. At night, color contrast often does more compositional work than color harmony.
Practical tip: don't fight mixed lighting by trying to correct it in-camera. Let the warm and cool zones sit against each other. That clash is the whole point.
Slow down for the in-between moments
Some of the best night frames aren't peak-action moments at all — they're quieter beats of people doing ordinary things under unusual light. A man reaching up to a truck window. A cook glimpsed through a fogged-up restaurant window, head down, focused on the next plate. These aren't decisive-moment shots in the Cartier-Bresson sense. They're observational, almost incidental — which is very much in keeping with how I think about the genre generally: more reps, fewer forced "bangers," and a willingness to let quiet documentary moments be enough on their own.
Night shooting rewards that patience even more than day shooting does, because the slower pace of after-dark foot traffic gives you more time to actually watch a scene develop instead of reacting to it in half a second.
A few technical notes
A couple of camera-settings basics carry over directly from how I shoot during the day, just pushed further. I've written before about stripping back your camera settings for street photography — at night, simplicity matters even more, because you don't have the luxual margin for error that bright daylight gives you. Wide aperture, auto ISO with a sensible ceiling, and a shutter speed you trust your hands to hold steady at. Don't overthink it in the moment; the scene moves fast and the light changes block to block.
I'll also say this: the megapixel count of your camera matters less at night than people think, not more. I made this argument generally in an earlier post about the megapixel arms race — and if anything, low-light, high-ISO night shooting is the one scenario where chasing extra resolution actively works against you, since smaller pixels gather less light per photosite. A camera you know intimately in dim conditions beats a spec sheet every time.
If you want more reps in mixed, chaotic lighting before you try night shooting specifically, the recent post on a day in Downtown DC putting in reps with the GRiiix is a good primer on the mindset — most outings, day or night, aren't going to produce a banger, and that's fine.
Where to start
You don't need a special "night photography" location. You need a place with layered light sources and foot traffic, which describes most commercial strips after sunset. Chinatown, in any city, is close to perfect for this — dense signage, food stalls, glass storefronts, and enough pedestrian traffic to give you human subjects against all of it.
If you're working in a city you already know well during the day, go back after dark and shoot the exact same blocks. You'll be surprised how unrecognizable they become.