The Ultimate Guide to Indoor Street Photography: Washington DC Edition
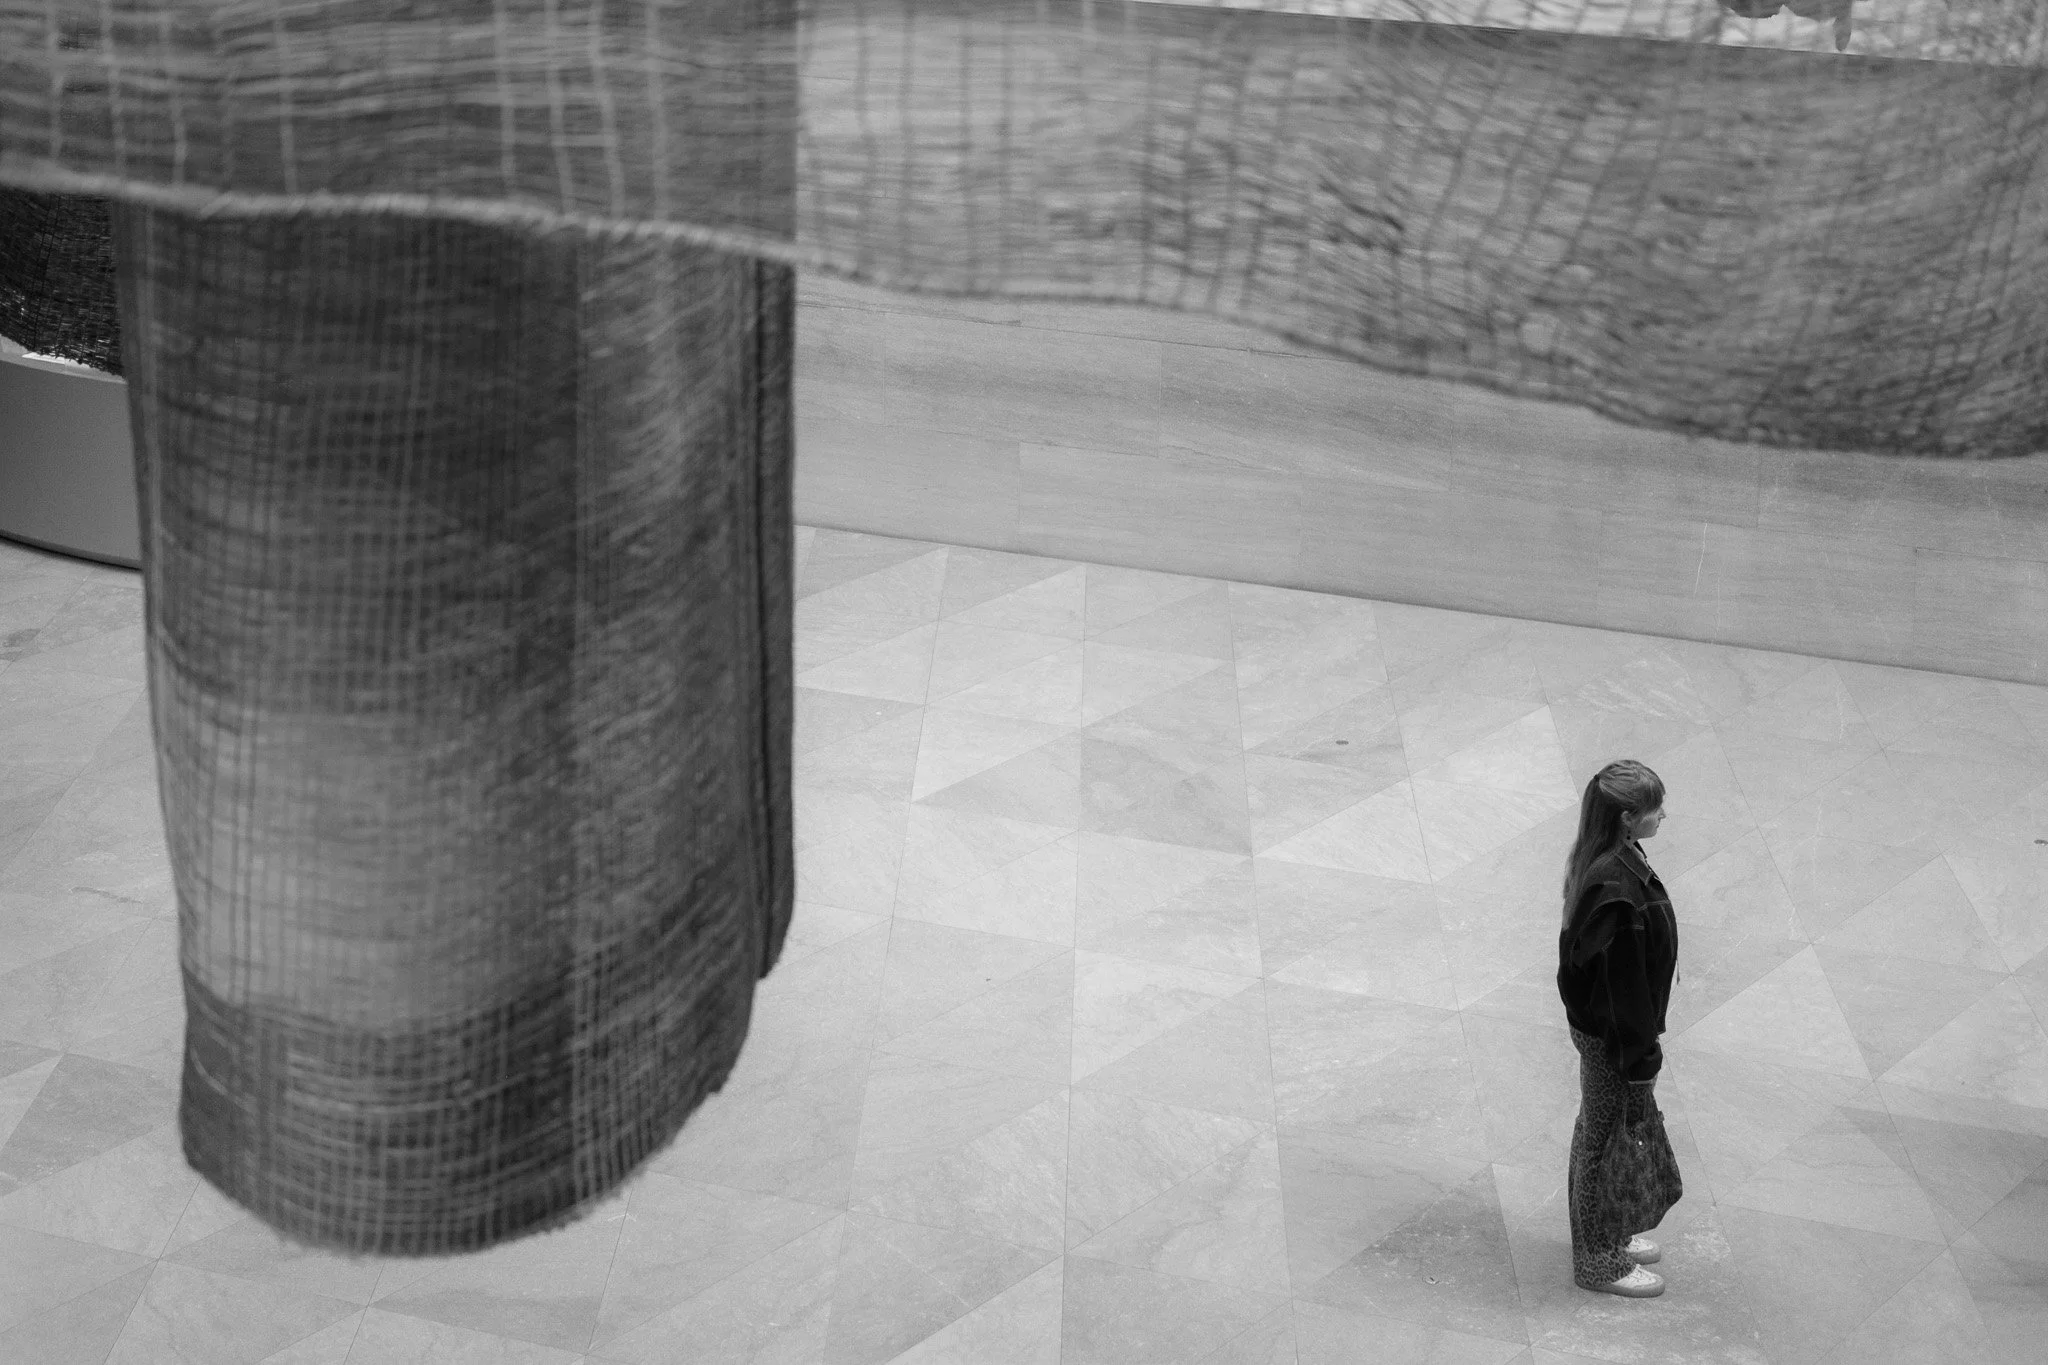
A Woman Stands Next to a Fiber Sculpture
Rain or Shine: Mastering Indoor Street Photography at the National Gallery of Art
Washington DC is a goldmine for street photography, but let’s be honest: the District’s weather doesn't always cooperate. The last few weeks in DC have seen snow, ice, and single digit temps. I didn’t want to let that deter me, so I improvised. When the humidity spikes or a sudden downpour hits the National Mall, you don’t have to pack up your gear. Instead, head inside the National Gallery of Art (NGA) or the Washington Metro.
The NGA is a haven for photographers. With its mix of neoclassical grandeur and sharp modernism, it offers a controlled environment to practice candid street photography without the wind chill. Here is how to make the most of your indoor session.
1. Embrace the Geometry of the East Building
The East Building, designed by I.M. Pei, is a masterclass in architectural lines. For street photographers, the massive atrium is the perfect "stage."
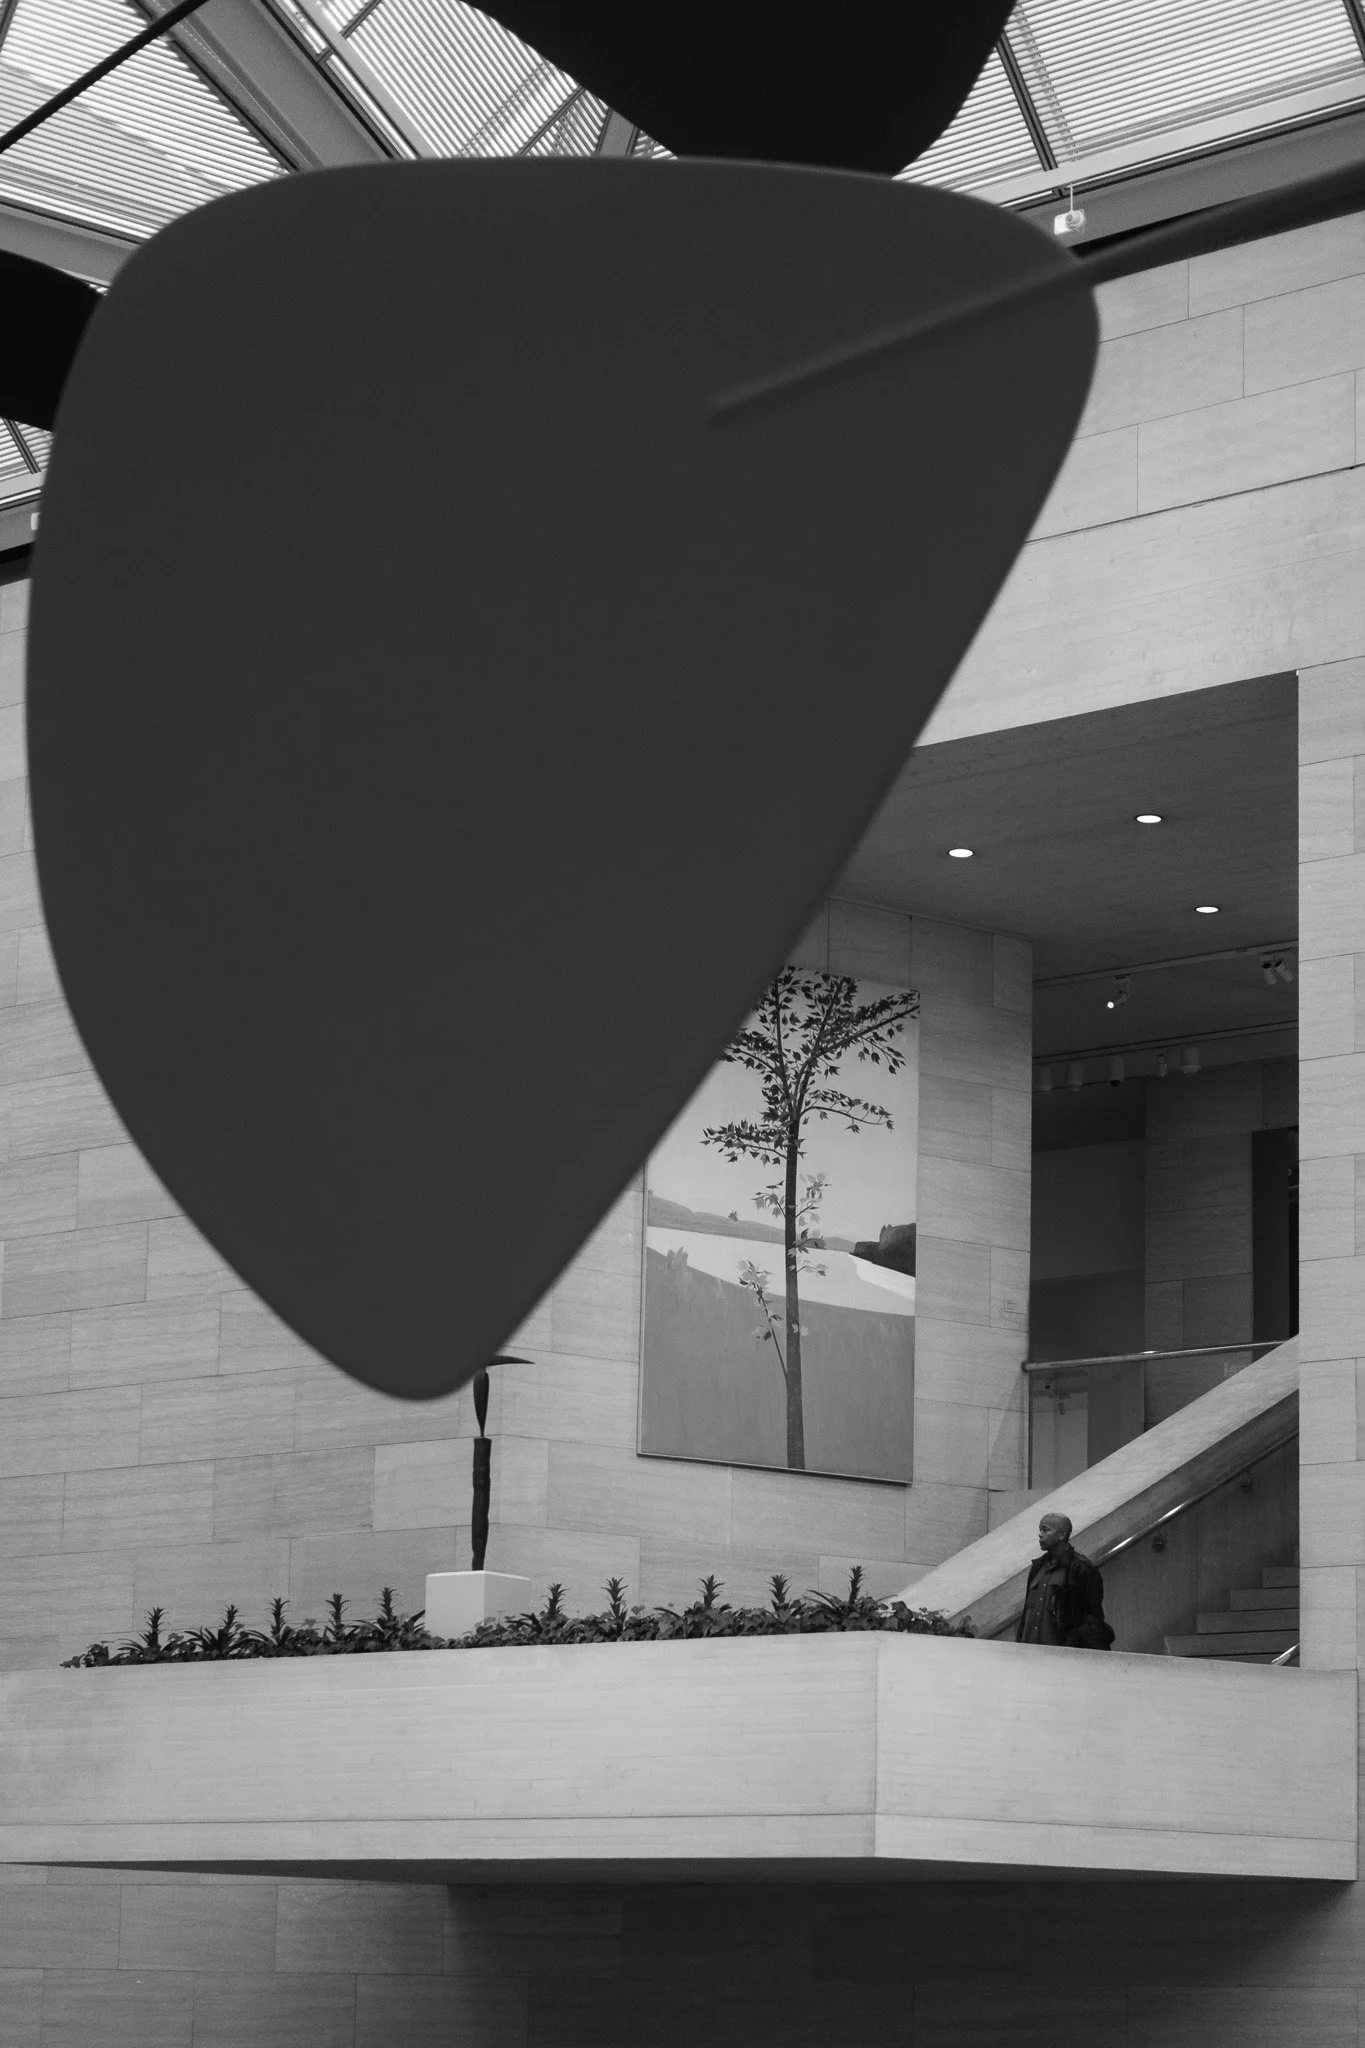
A Man Views a Calder Sculpture
The Shot: Look for subjects interacting with the massive Alexander Calder mobile. The contrast between the organic, moving shapes of the art and the rigid, triangular skylights provides a stunning backdrop for human subjects.
SEO Tip: Using a wide-angle lens here helps capture the scale of the architecture while keeping your "street" subject in context.
2. Hunt for Silhouettes in the Multiverse
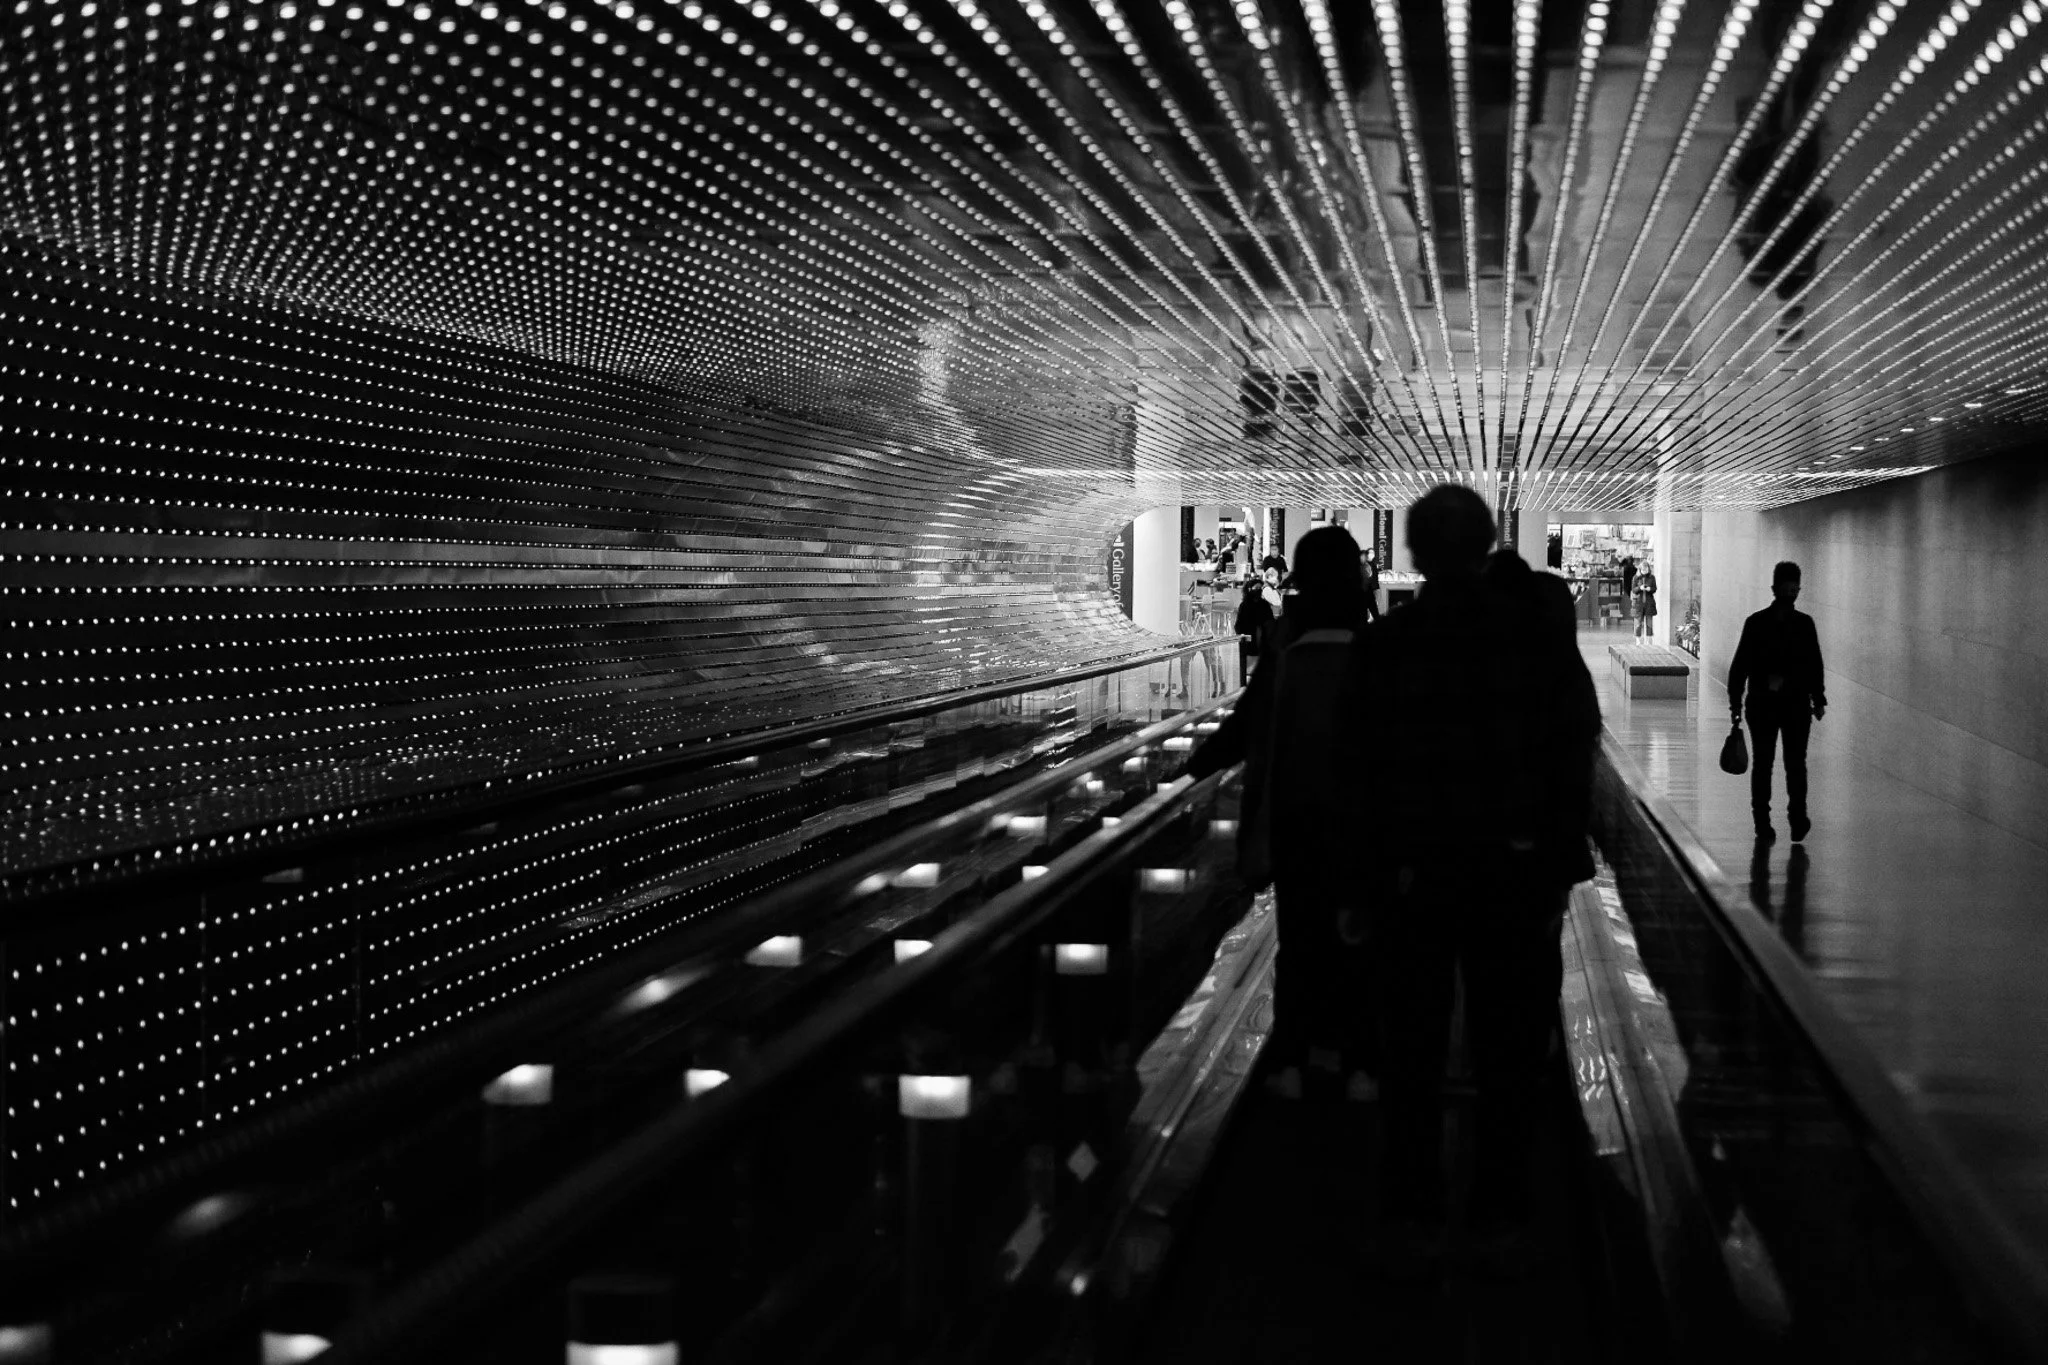
Patrons in “The Multiverse”
The "Multiverse" light tunnel (the moving walkway between the East and West buildings) is a DC photography staple.
The Technique: Position yourself at the end of the walkway. The twinkling LED lights create a futuristic bokeh effect.
Pro Tip: Use a slow shutter speed to capture the motion blur of visitors passing through, emphasizing the "street" energy in an abstract way.
3. Seek Out Quiet Moments in the West Building
A Woman Runs Through a Leafy Atrium
If the East Building is about energy and light, the West Building is about mood and solitude.
The Frame: Use the long, arched hallways and rotunda to frame solitary visitors. The soft, diffused light coming from the garden courts creates a "film noir" vibe that is perfect for black and white street photography.
The Gear: Since tripods are prohibited inside the NGA, lean against a marble pillar to steady your shot in the lower-light galleries.
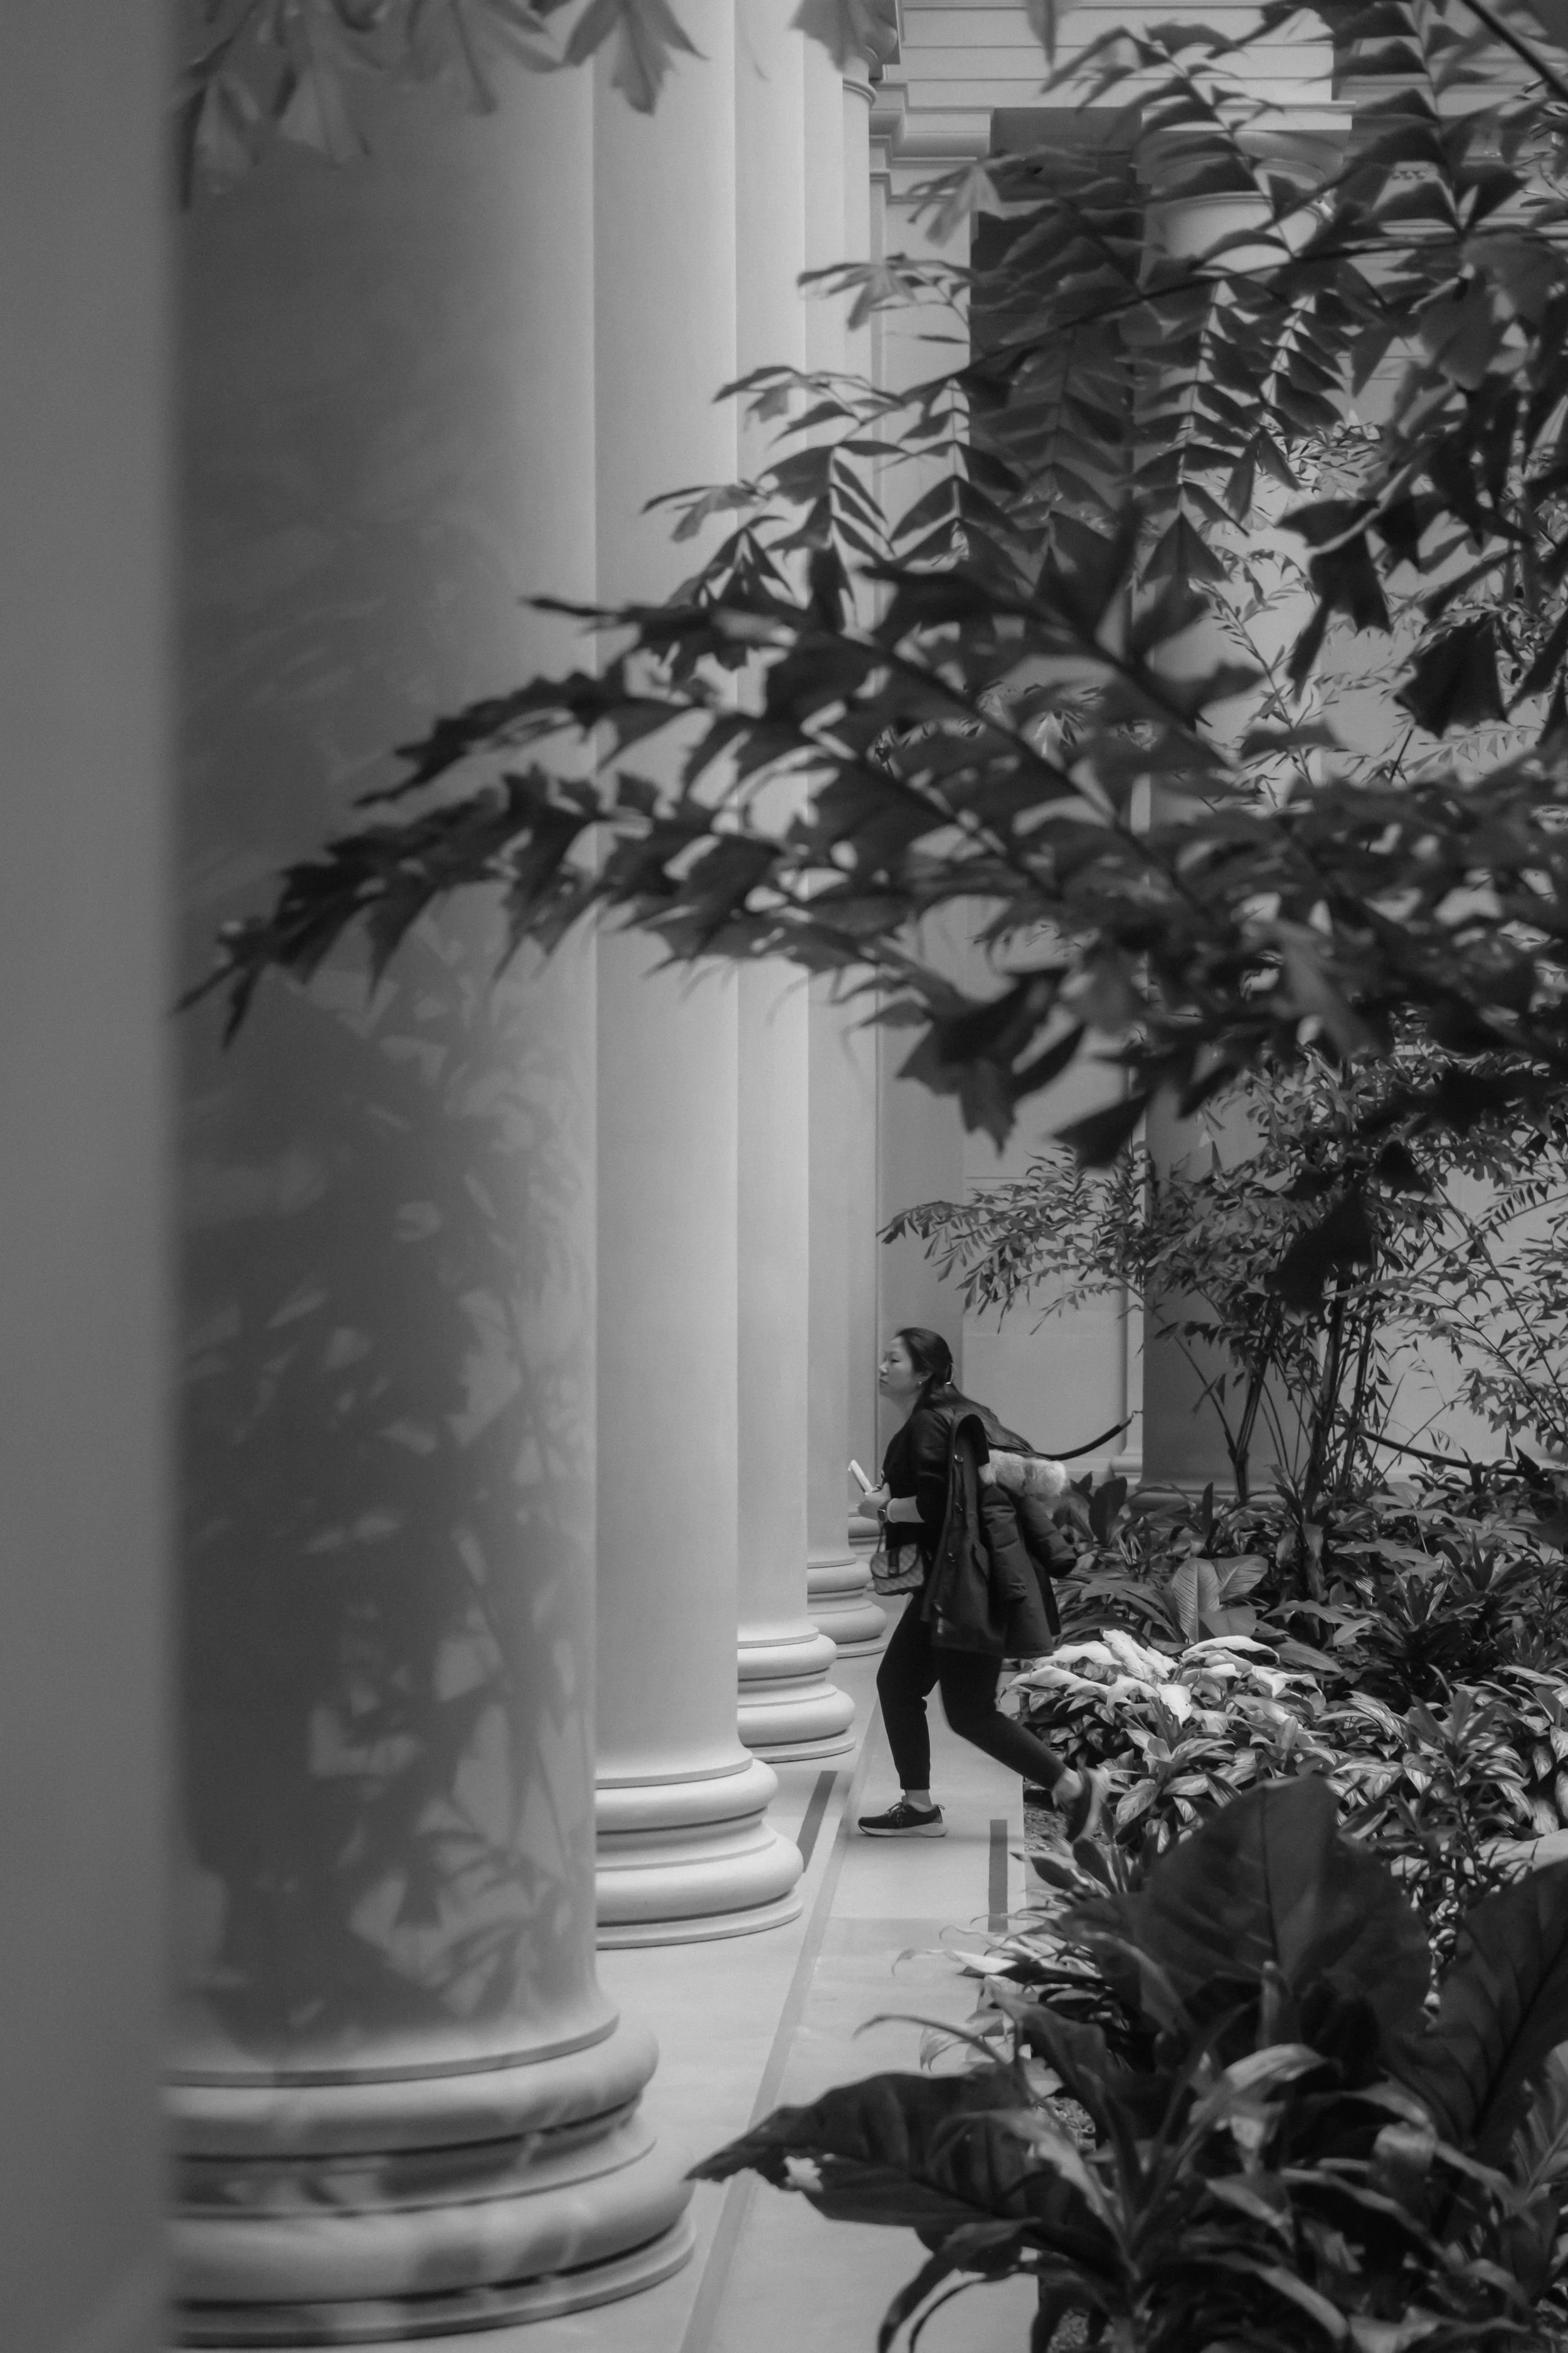
4. Practice the "Art of the Observer"
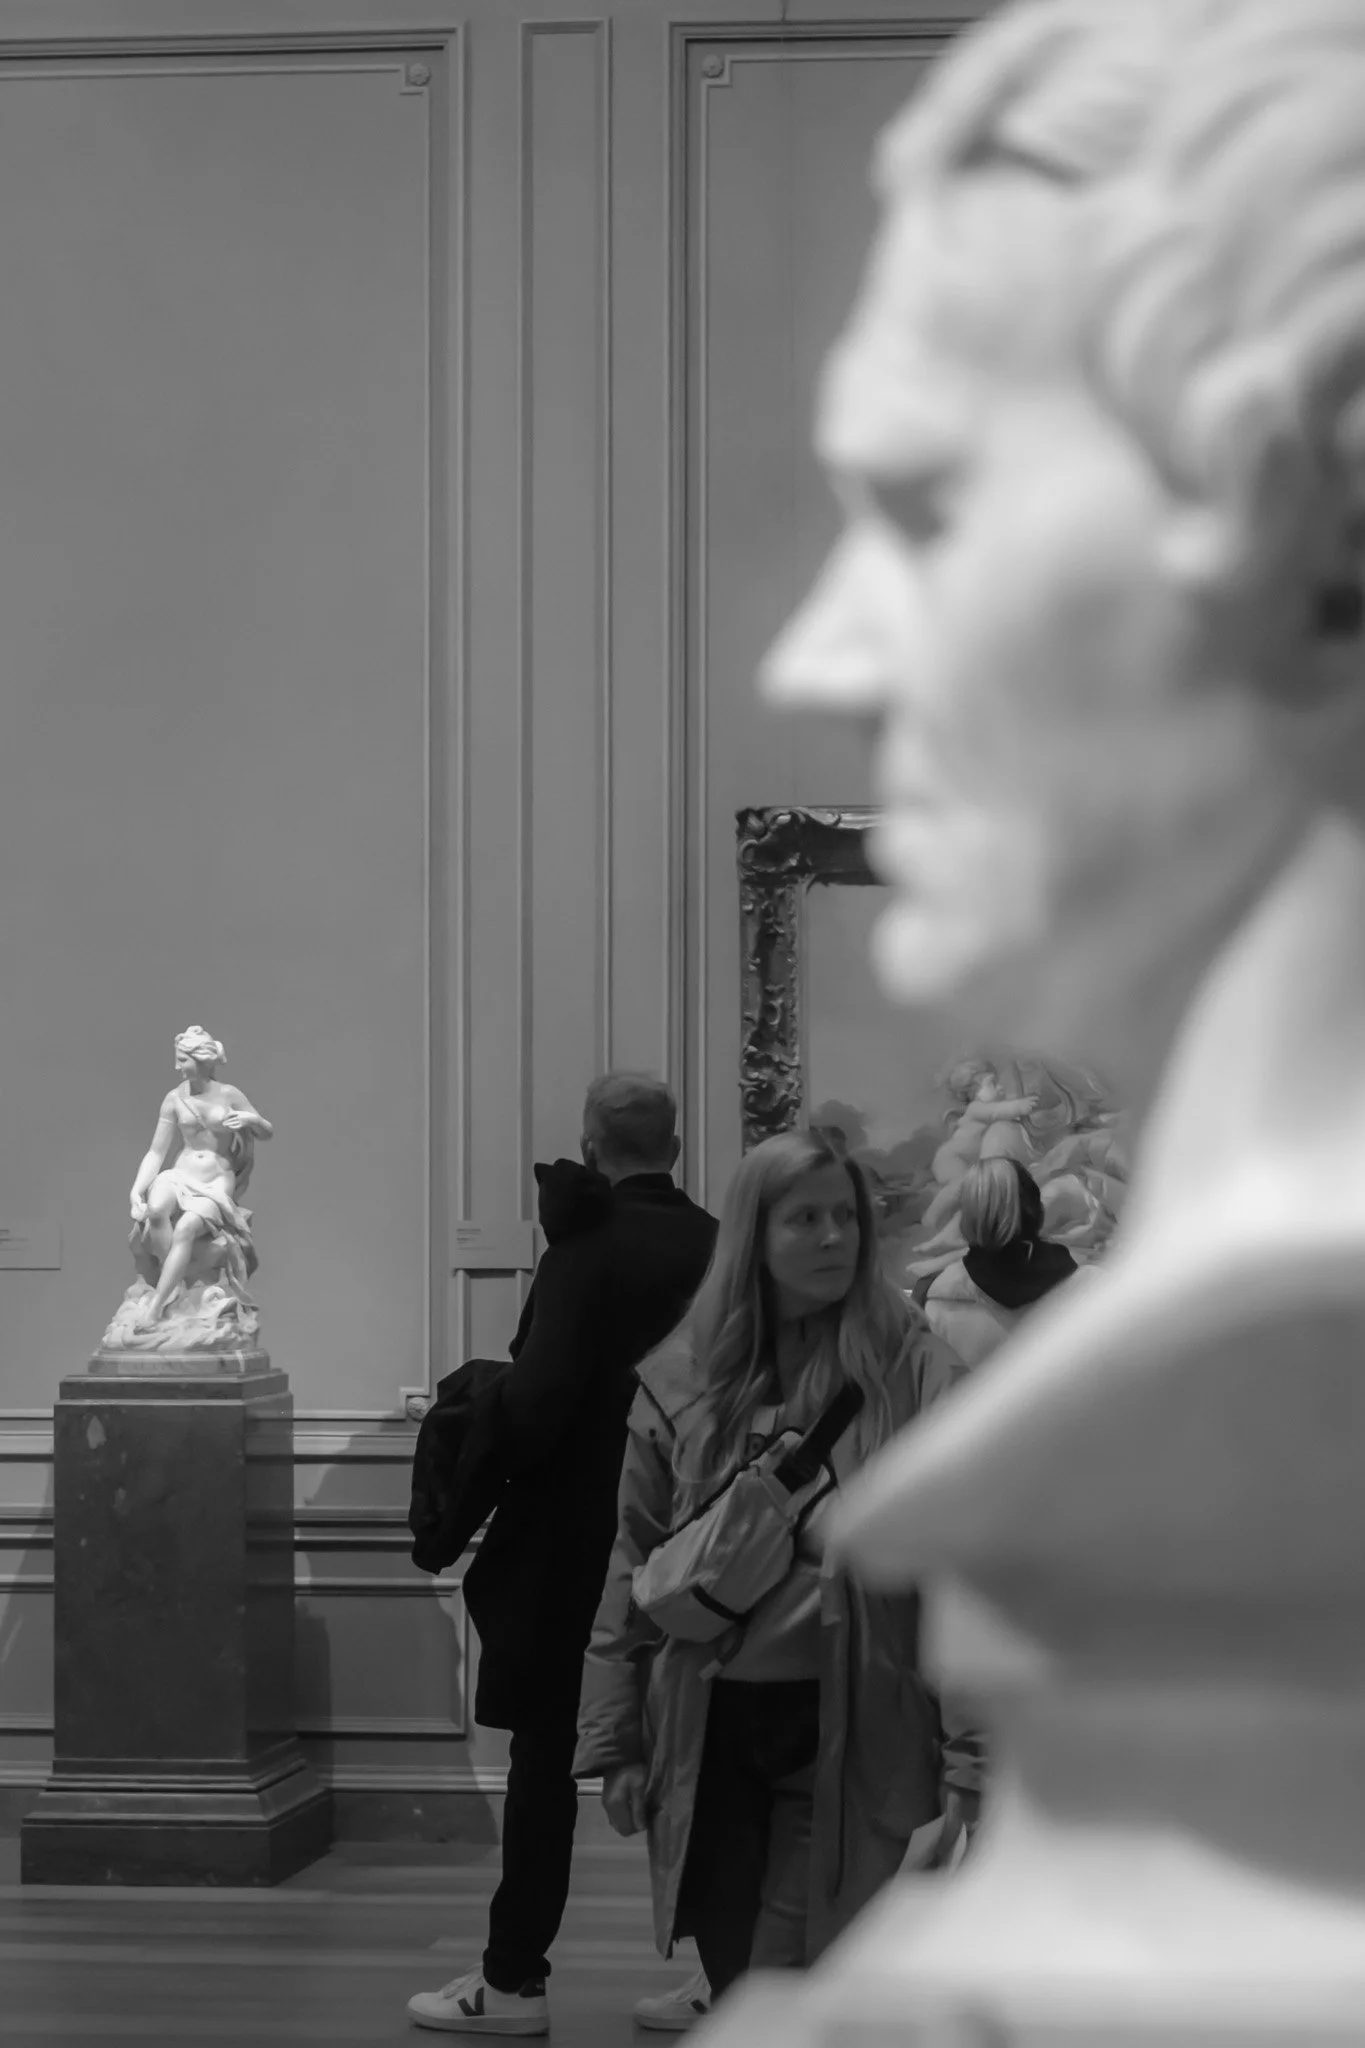
Museum Patrons View Classical Sculptures
In a museum, people are naturally still as they contemplate the works. This gives you a rare opportunity to focus on facial expressions and posture.
The Ethics: Be respectful. While street photography in public spaces like the NGA is permitted for personal use, avoid using flash (which can damage art and distract others) and keep a respectful distance.
Quick Guide: NGA Photography Rules
Admission: Free
Permits: Not required for personal/candid photography
Flash: Generally allowed (but better to avoid for candid shots)
Tripods/Selfie SticksProhibited: inside buildings
Best Time: Weekday mornings (10:00 AM) to avoid crowds
Summary
Indoor street photography isn't just a backup plan; it’s a way to sharpen your eye for light, composition, and human emotion in a completely different context. The National Gallery of Art provides a world-class canvas—all you have to do is show up and start clicking.
Shooting street photography inside a museum like the National Gallery of Art presents a unique challenge: the lighting is often dramatic but dim, and you have to ditch the tripod. To keep your images sharp while maintaining that "candid" street feel, you’ll need to balance your exposure carefully.
Here is a guide to the ideal settings for the NGA's specific environments.
The "Indoor Street" Cheat Sheet
1. The East Building Atrium (Bright & Airy)
Because of the massive skylights, you have more light to work with here. You can afford a faster shutter speed to catch people moving between the art installations.
Mode: Manual or Aperture Priority (Av)
Aperture: f/2.8 to f/4 (to keep the architecture sharp but separate your subject)
Shutter Speed: 1/250s or faster (to freeze walking subjects)
ISO: 400−800
2. The West Building Galleries (Moody & Dim)
The light here is much lower. You'll need to push your camera’s sensor a bit harder.
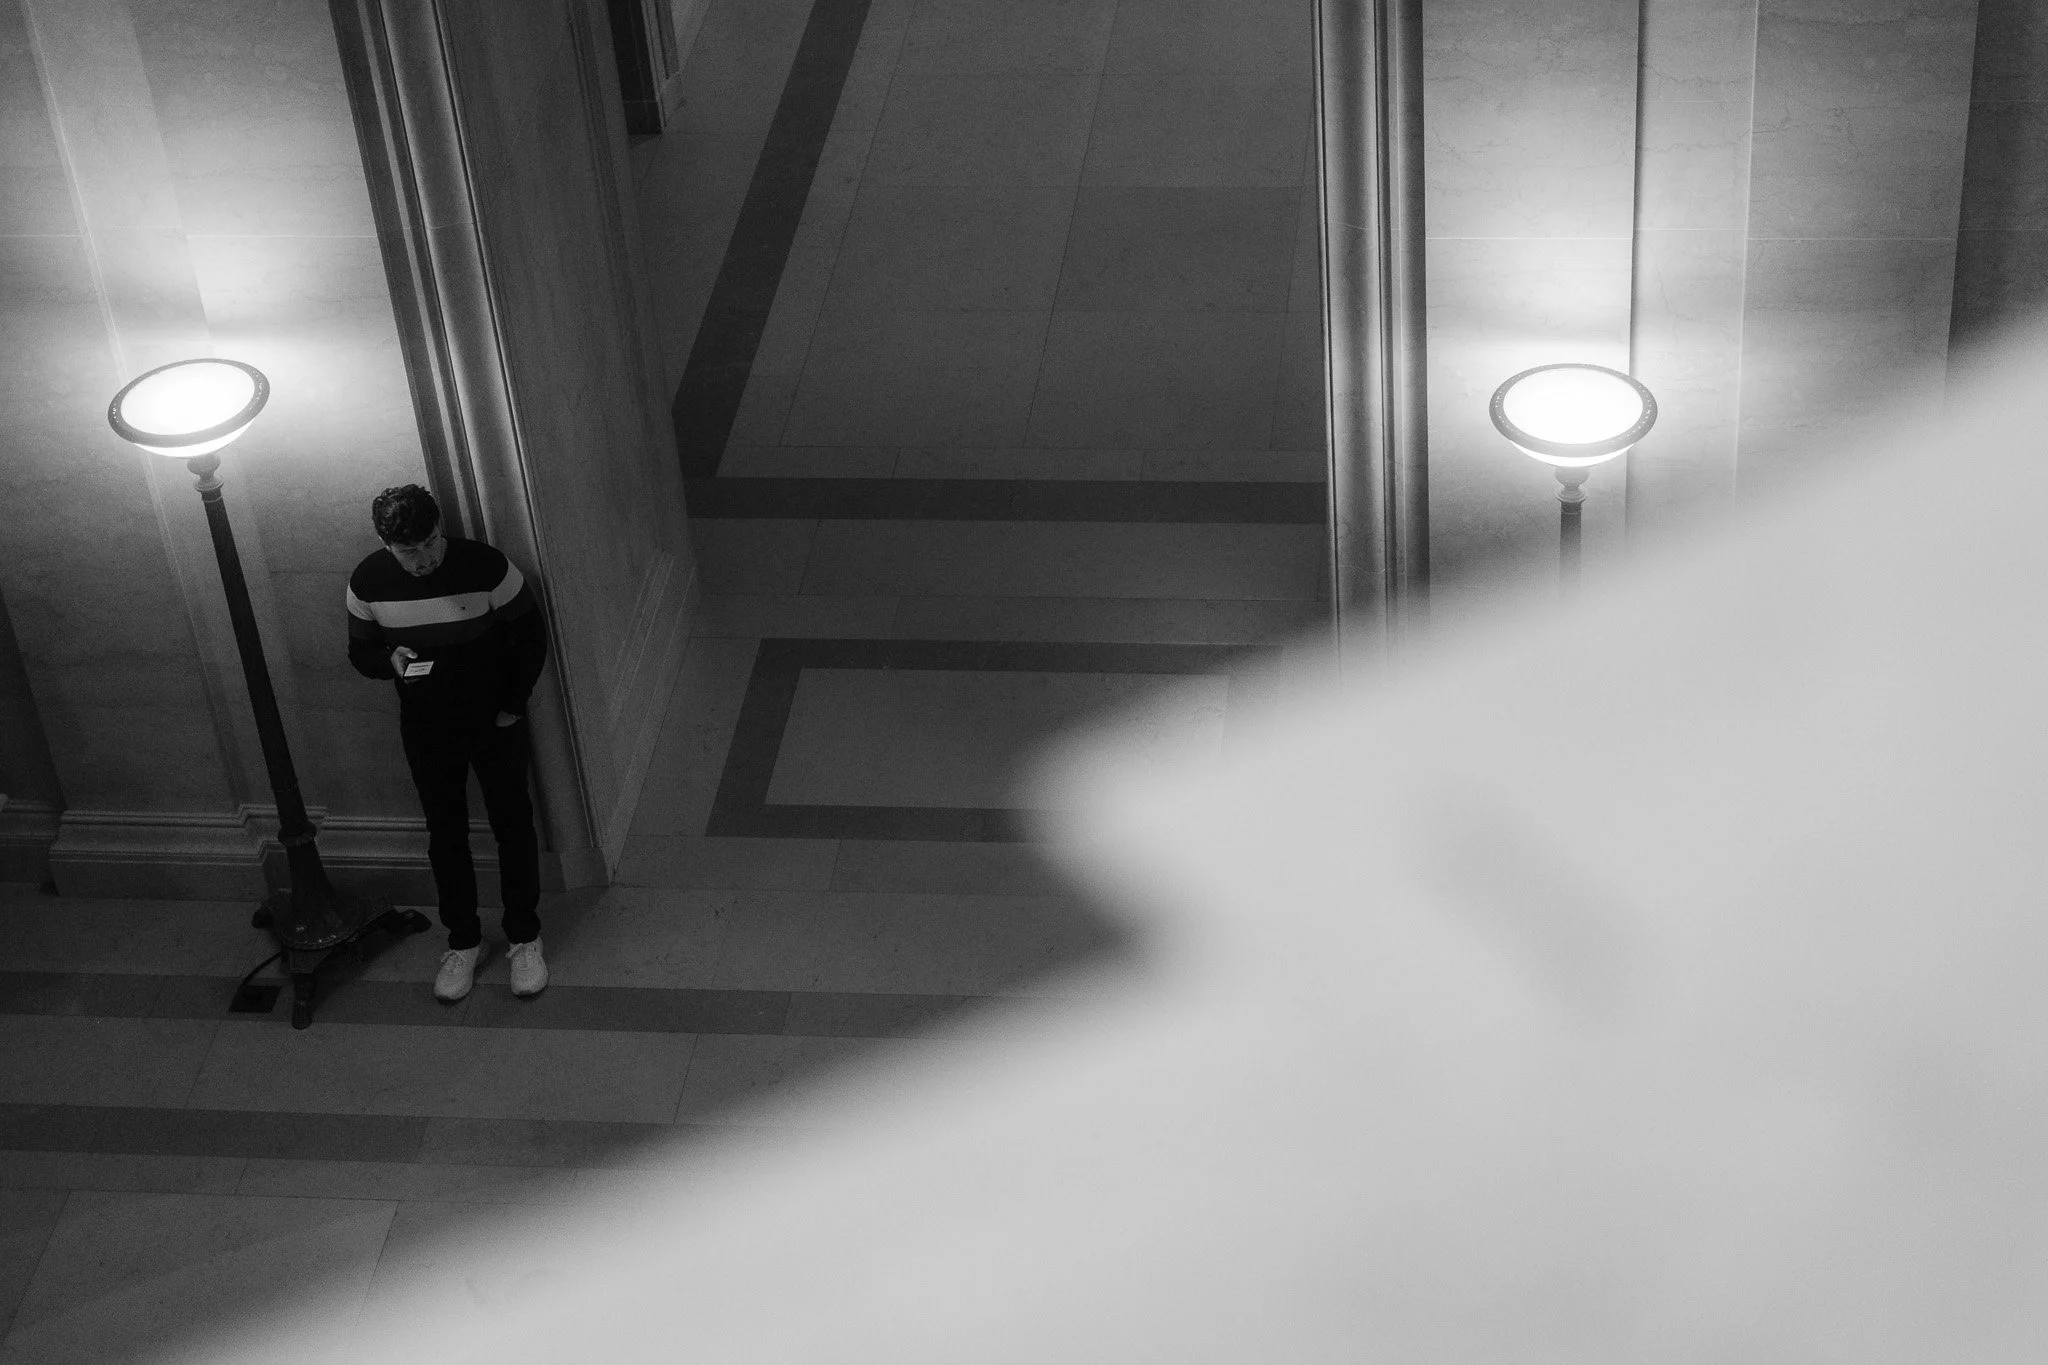
A Patron at the NGA West Building
Mode: Manual
Aperture: Wide open (f/1.8 or f/2.0 if your lens allows)
Shutter Speed: 1/125s (this is the "danger zone"—hold your breath while clicking to avoid camera shake!)
ISO: 1600−3200
White Balance: Set to "Tungsten" or "Incandescent" to avoid the yellow-orange tint from the gallery lamps.
3. Leo Villareal’s Multiverse (Under Renovation as of February 2026)
This is all about light trails and silhouettes.
The Silhouette Look: Under-expose by -1 or -2 stops to turn people into black shapes against the LED lights.
The Motion Blur Look: Drop your shutter speed to 1/15s or 1/30s. Lean your back against the wall of the moving walkway to act as a human tripod.
ISO: 800 (The LEDs are brighter than they look!)
Pro Tips for Sharpness
The Reciprocal Rule: To avoid "blurry" shots caused by shaky hands, ensure your shutter speed is at least 1/focal length.
Example: If you are shooting with a 50mm lens, don't drop your shutter speed below 1/50s.
Auto ISO: If the light is changing rapidly as you move between rooms, set an Auto ISO range (e.g., Min 100, Max 6400). This lets you focus on the "decisive moment" while the camera handles the math.
Focus Mode: Use Single Point AF. In museums, cameras often get "distracted" by the frames or sculptures in the background; placing your focus point directly on your human subject is vital.
For other great DC street photo locations, check out this post.